14 Food Styling Ideas Every Food Photographer Should Know About
Tips For Making Your Food Styling Stand Out
Have you ever wondered how food stylists make food look good in photos? Food styling can be both a fun and a challenge at the same time. It takes a combination of skill and talent to be truly great at it, and even then there is always more to know. A well styled food scene can transform a plain photo of food into a beautiful masterpiece that is certain to grab attention.
Every food stylist will develop their own set of skills as they practice and become proficient at their craft. These tips are some fun and maybe unexpected ideas for you to add to your metaphorical toolbelt as you improve on your food styling journey.
To learn more about what food styling is checkout this post: What Food Styling Is (And Why You Need To Learn It As A Food Photographer)
Don’t Let Perfection Be The Enemy of Progress
I may be a broken record on this point but I always recommend to keep in mind that art is subjective. One person may love a dark and moody scene of edible art, while another may prefer a bright and airy one. There is no truly “right” or “wrong” way to style food because beauty is in the eye of the beholder.
Alright, let’s talk about some amazing food styling ideas to improve your food photography;
1. Use Cold Food
When working with different types of food in a food photo shoot you may assume it best to use fresh and hot foods. While that is a good method sometimes, it may create a whole set of problems in your scene.
Why you may NOT want to use hot food:
For example, a warm bowl of soup may look amazing if you are trying to get a shot of the steam coming off the top. However, if you are trying to take a flat-lay shot from above then the steam may fog the lens, the heat can melt your lovely drizzle of cream, or it may wilt the fresh herbs you placed on top.
When to use cold food:
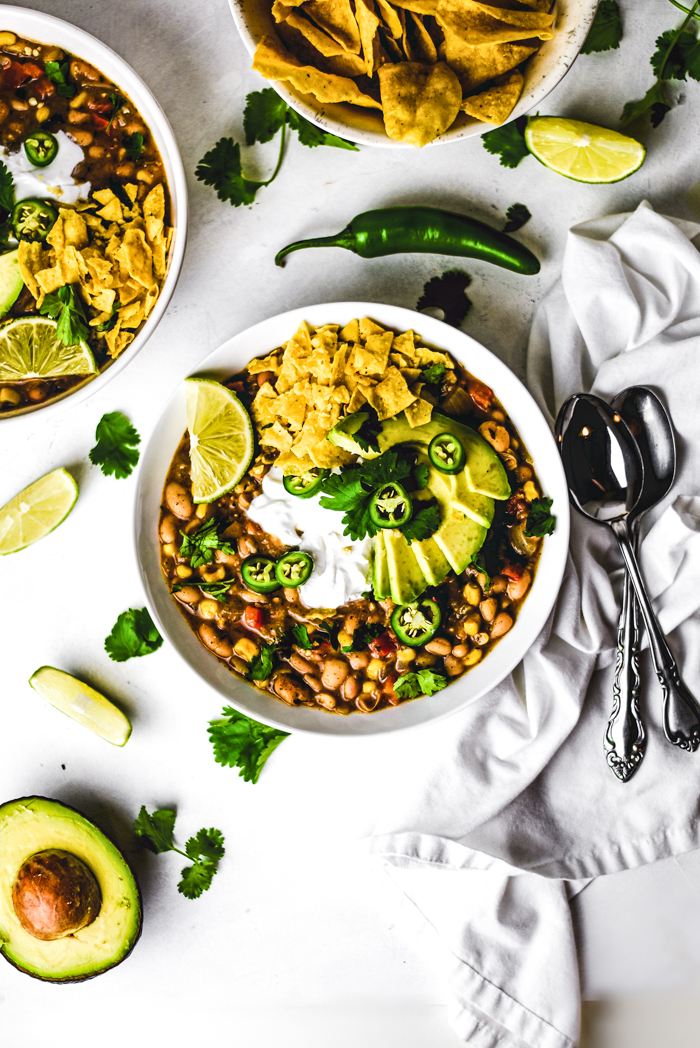
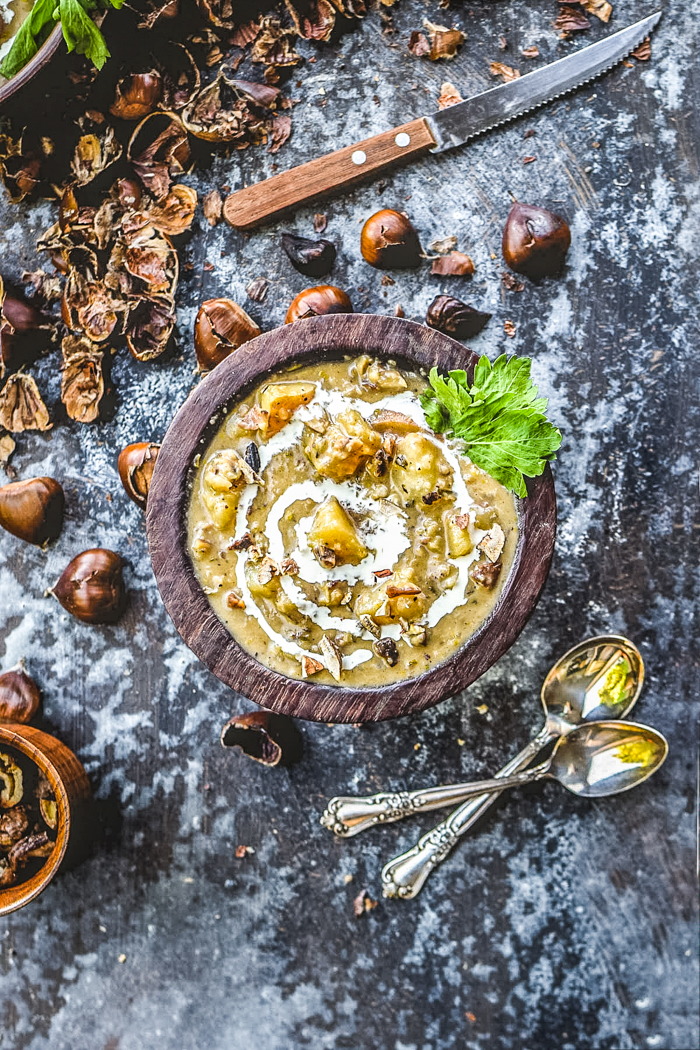
Cold foods can be a great option for these situations and, after all, your viewer can’t feel the temperature of the food. It’s the job of the food stylist to tell the story of the food and what temperature it’s supposed to be. The photo of chili above was taken cold and made the night before. Here are the reasons you may want to use cold food for some photos:
- It allows you to prepare everything ahead of time so that you have more control of when you’d like to set up your photo shoot. Sometimes you may not have time to make a recipe, stage it, then photograph it all at once. Making a recipe the night before a shoot can save a lot of time.
- It can keep the toppings on a bowl of food from melting, wilting, or discoloring (think avocados). Using cold food gives you a much longer time window to to capture the perfect photo without constantly replacing toppings.
- It allows time for certain foods to thicken for a better looking consistency in a photo. Some sauces or soups may taste delicious when freshly made, but be a nightmare to make look good for a picture. A good example is cream sauce. Cream sauce is often quite thin when freshly made as to allow it to cover pasta or whatever you are pouring it over. In a photo it may appear bland and boring if the hot cream sauce just runs off the noodles and leaves them rather naked. Another example, chili. A thin chili won’t allow for putting toppings on it without them sinking in and if a soup has a thin broth you won’t be able to see the texture of the beans and other ingredients in the soup.
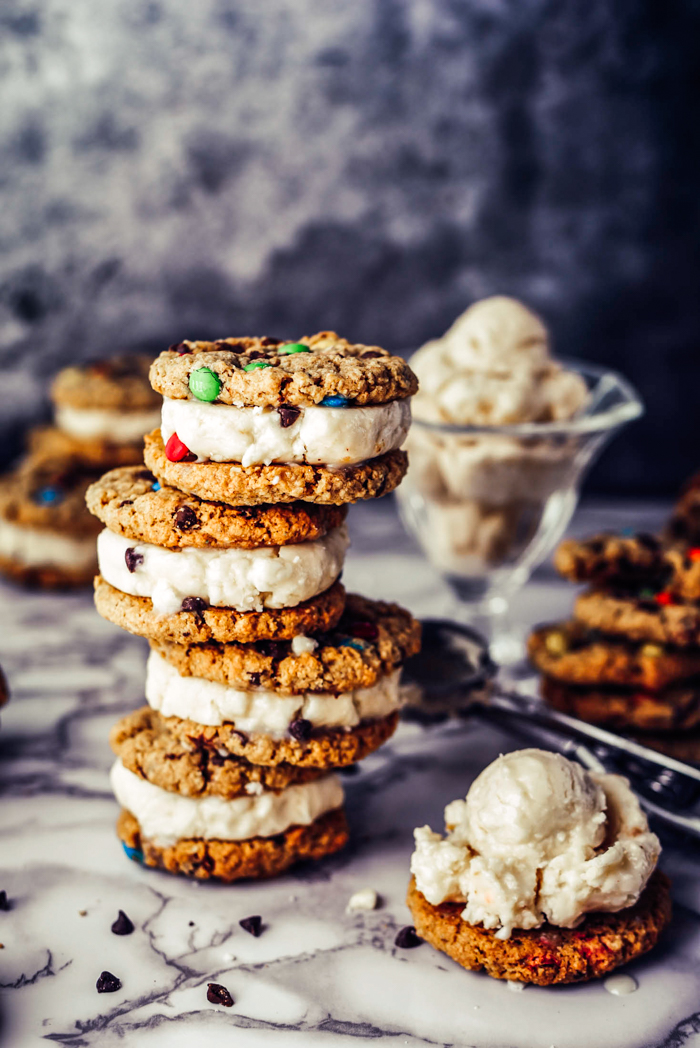
2. Fake Ice Cream
You’ve probably heard of this one, but have you tried it? Yes, food advertisers must only use their true product to make ads or packaging, but as an artist simply telling the story of food, you are free to use whatever you like to create photo perfection.
Ice cream is notoriously a pain in the you-know-what to photograph. It melts, it gets everywhere, and you have like 5 seconds to capture the shot before it’s too late. So how does one make fake ice cream? you may ask. Well, most food stylists recommend using a tub of store-bought frosting mixed with powdered sugar until you get the thick consistency that you are looking for.
I use essentially the same method but from scratch. (Does anyone remember the PBS show Zoom from the 90s and early 2000s?) I used to make something from that show called “candy clay” as a kid and it just so turns out that this thick sugar paste works perfectly as a fake ice cream. It’s butter, powdered sugar, and some water basically. You get the idea.
Tips to make fake ice cream look more real
- Use a paintbrush and a bowl of cream or milk to brush the fake ice cream to keep it from appearing dry. For chocolate or non-vanilla “ice cream” add a bit of cocoa powder or caramel coloring so you aren’t brushing a different color onto it. Basically try to match the color.
- Use a classic ice cream scoop when making your scoops to create those iconic ice cream ridges and ripples. If you simply form balls of fake ice cream with your hands or a spoon you may end up with something that looks more like a bouncy ball than ice cream. Make sure to create ridges like you would have with real ice cream.
What do you do with fake ice cream after you take photos?
If you are adding all kinds of inedible or possibly dangerous to consume things to your food styling then I recommend to throw it away. This also applies if you are staging the food somewhere that isn’t clean and may pick up gross stuff. However, if you hate waste like I do and have not added any dangerous ingredients to it, you can salvage it. You can simply whip it into frosting again after your photo shoot by adding some liquid. Use for a delicious cake or cupcakes.
3. Use Kid Cup Lids Or Cardboard Circles To Stack Floppy Foods
This tip doesn’t just work for pancakes, it can work for basically any floppy foods like waffles, French toast, etc. This pancake photo for Vegan Soft and Simple Coconut Cream Pancakes pictured below is stacked so straight because I used lids from children’s cups placed between every one or two pancakes.
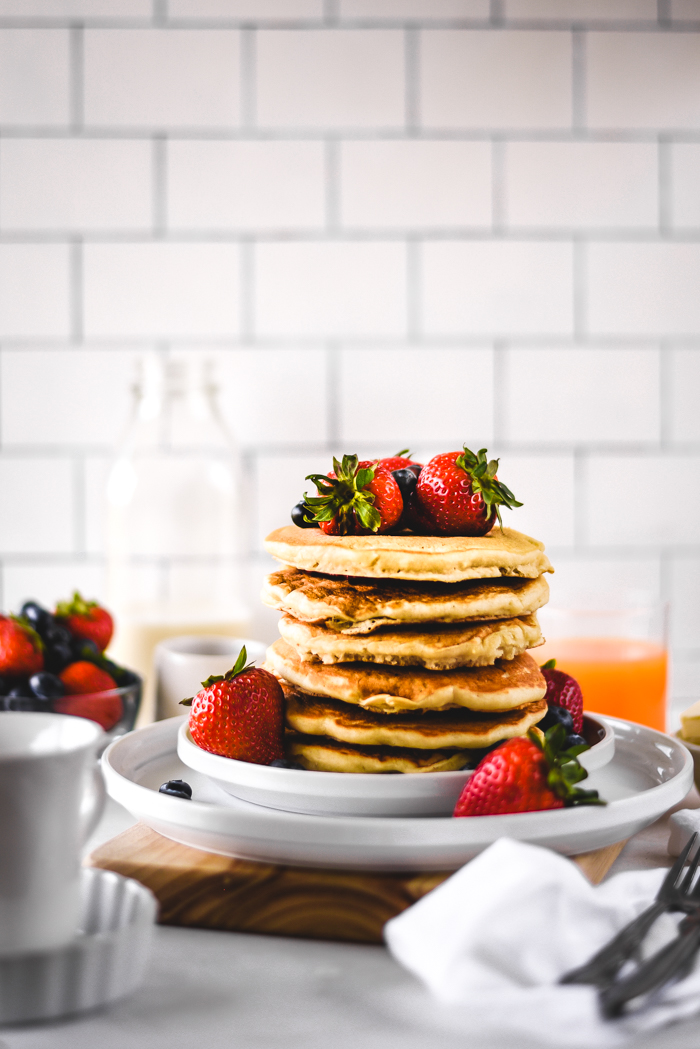
Items you can use to stack pancakes and other floppy foods.
If you don’t have any kind of disc shaped lids around you can use small cardboard circles. You can purchase very small cardboard circles, made for wedding cakes or crafts, at a local craft store. You could also just cut some cardboard circles yourself. For large pancakes you can also use old DVDs or CDs in between each pancake.
Don’t worry if you can’t avoid your stacking objects peaking out a little in the photo. You can use an editing tool like Adobe Photoshop or Lightroom to edit them out pretty easily.
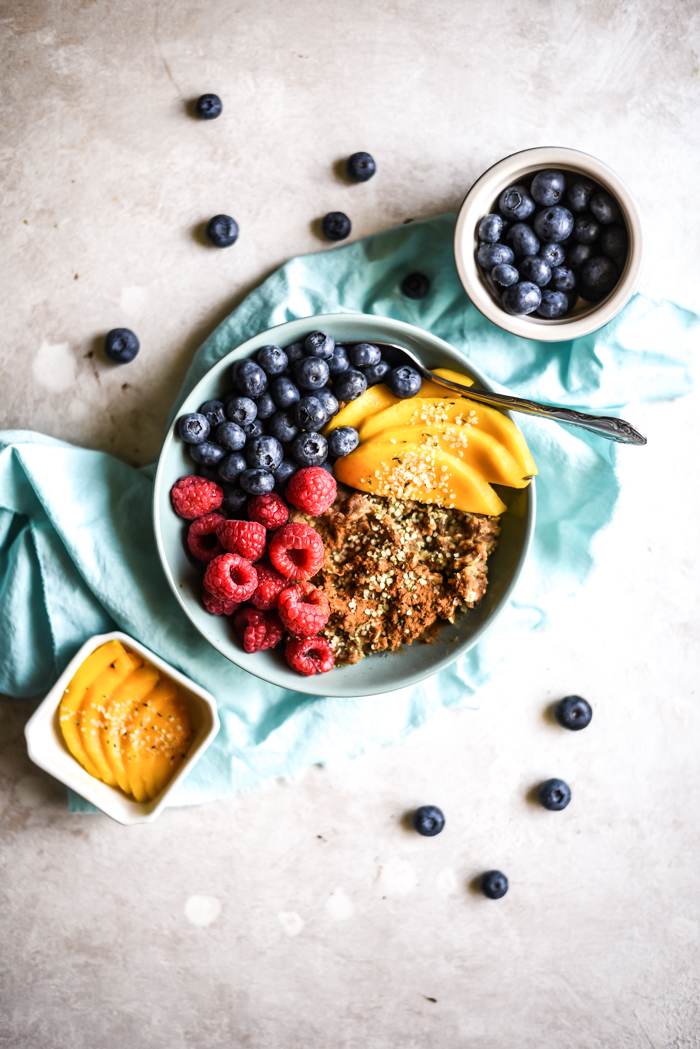
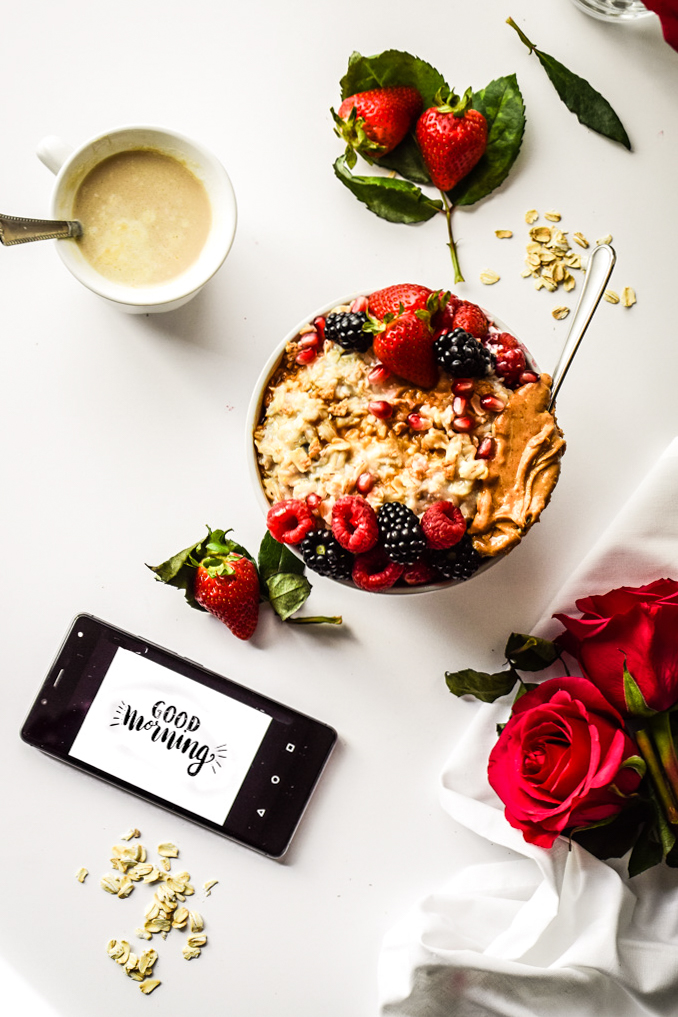
4. Fresh Herbs & Spices To Add Texture
Many foods may taste delicious and be filled with healthy ingredients but you can’t see that from simply looking at a bowl of it. I am again going to use soup as an example as well as oats. These foods on their own can look extremely blah. That’s where topping and garnishing comes in to save the day.
Not every food stylist would agree with this tip, but you don’t have to stick with simply ingredients from a recipe when it comes to garnishing and topping. Add anything that may help create texture and interest on your food even if it isn’t in the actual dish.
Garnish ideas for topping plain looking foods:
- Fresh herbs or greens: an obvious one, but for a reason. Food just looks more wholesome and fresh with a little green. I have often grabbed a bag of baby green salad mix from my fridge and chopped it into indistinguishable pieces when I haven’t had fresh herbs on hand. Use parsley, cilantro, basil, thyme, etc.
- Spices & seeds: a sprinkle of sesame seeds or chopped nuts can be a perfect way to add a little somethin’ somethin’ to your dish. I love using hemp hearts especially (pictured above). They are so small and white that they almost look like sparkles at first glance.
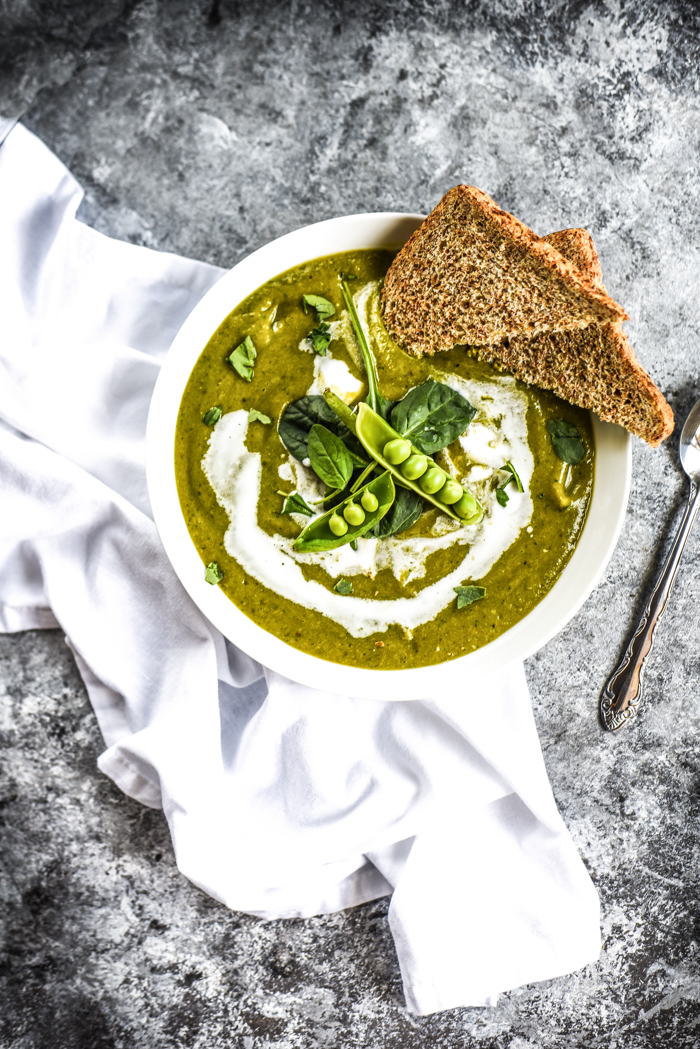
- Sliced fresh fruits and vegetables: You probably wouldn’t want to eat a fresh snap pea when you’re about to eat pea soup (pictured above of Cozy Vegetable Sweet Pea Soup (Vegan+GF))
5. Use Extra Components And Ingredients In Shot
A great way to show off all the delicious flavors and ingredients in a dish is to simply show the ingredients within the frame or background of the photo. For example, you can add a bit of dry pasta to the background or foreground of a pasta photo or a bowl of extra salsa in a taco photo.
Get creative with this tip and try placing different ingredients in the shot until you find the ones that look best. It does not necessarily even need to be an ingredient used in the recipe. It can be an ingredient that goes well with the dish.
A side dish or food item can also work well here. Things like cornbread for chili, breadsticks for spaghetti, chips for a dip…..
Ways to include extra ingredients or components in a photo
- Use bowls of extra sauces, salsas, chopped ingredients, etc. If the food you are styling has a sauce or salsa of some kind it can a perfect way to fill out a food scene. Use a small bowl or dish filled with the extra ingredients in the background, foreground, or edge of frame.
- Sprinkle bits of extra ingredients around the edges of photo. Things like herbs, baking mix-ins (i.e. chocolate chips, nuts, etc.), or measuring cups of flour and sugar.
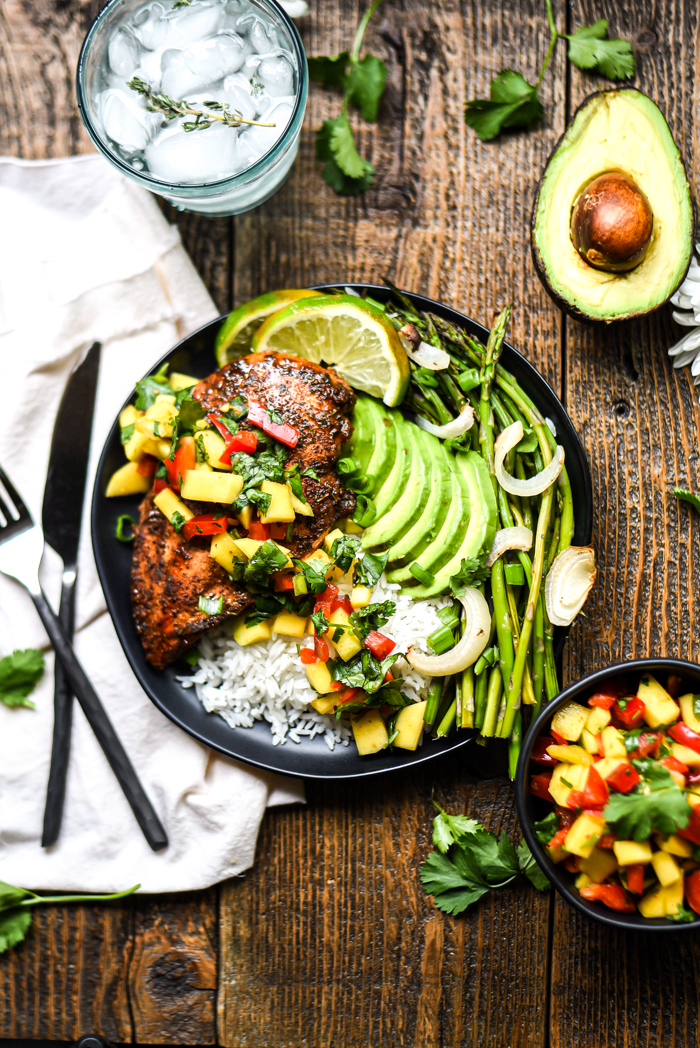
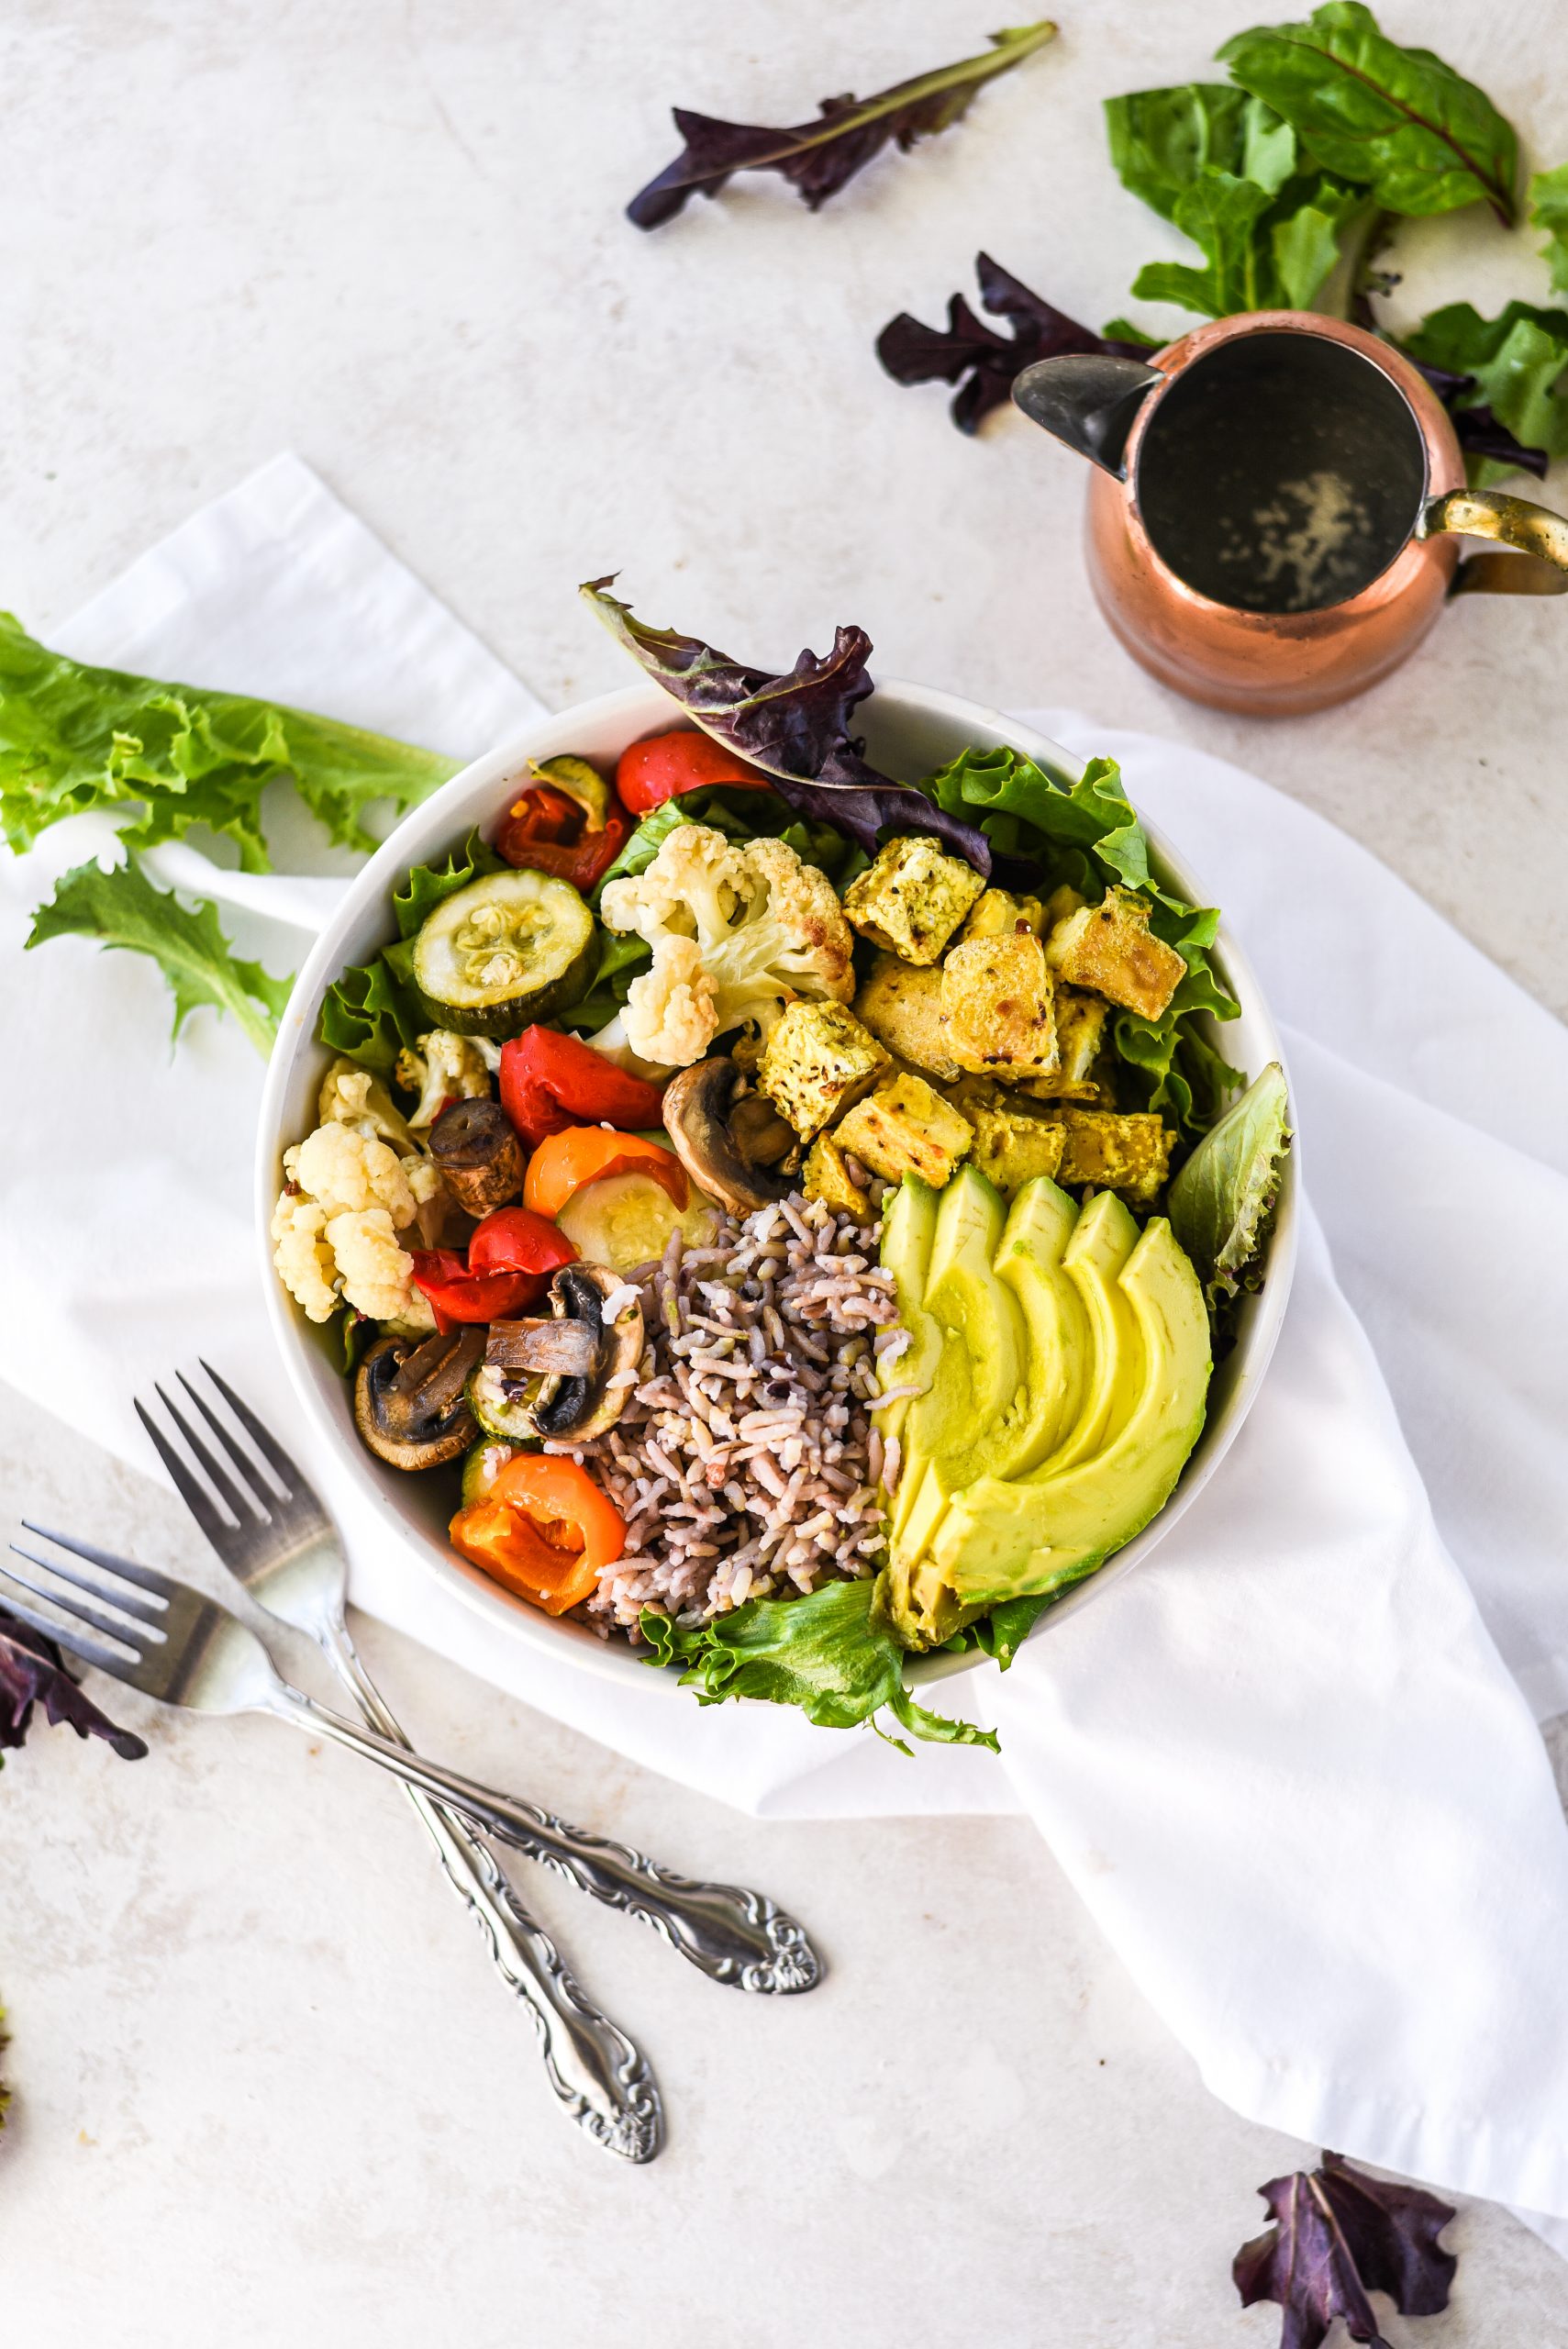
- Add extra fruits and vegetables that are part of the recipe. I love to use berries, sliced citrus, avocado, fresh greens, whatever makes sense in the photo.
- Add things that go well as a side. Add bowls of chips, plates of crackers, a basket with bread. Think about what you would ideally serve with a dish and find nice ways to incorporate that into the photo. This not only inspires the viewer with serving ideas, it makes the photo feel that much more inviting.
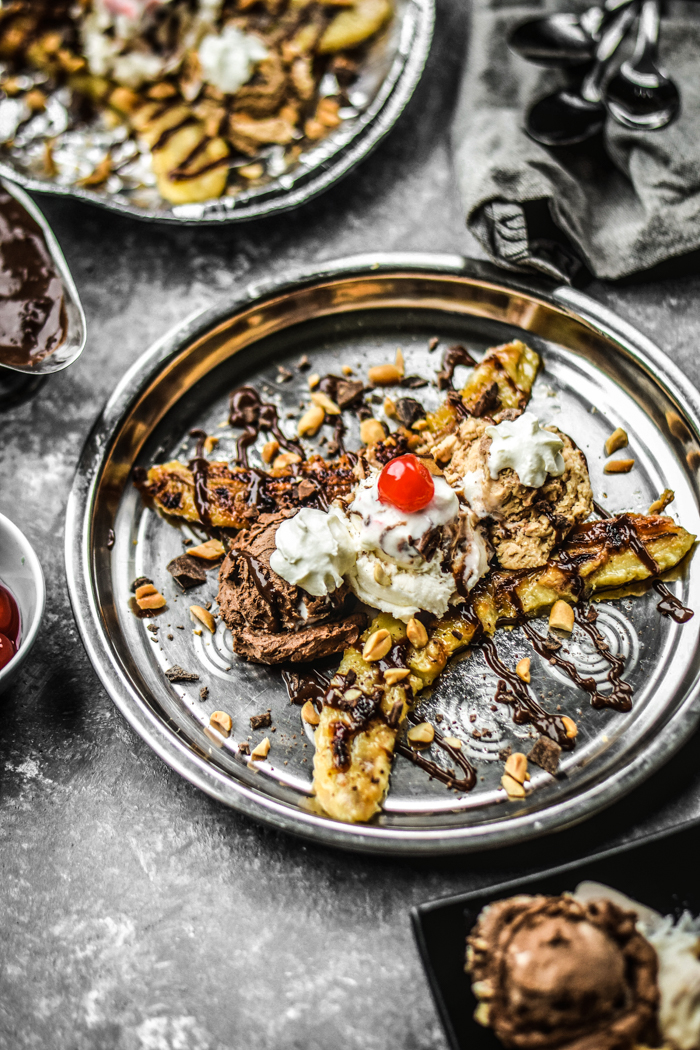
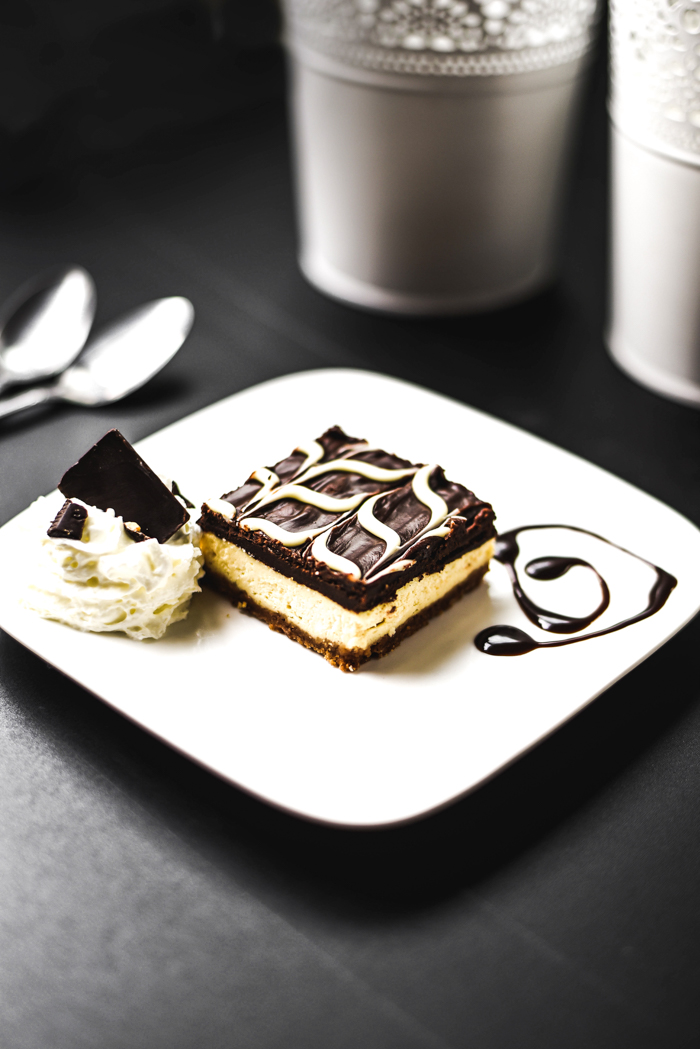
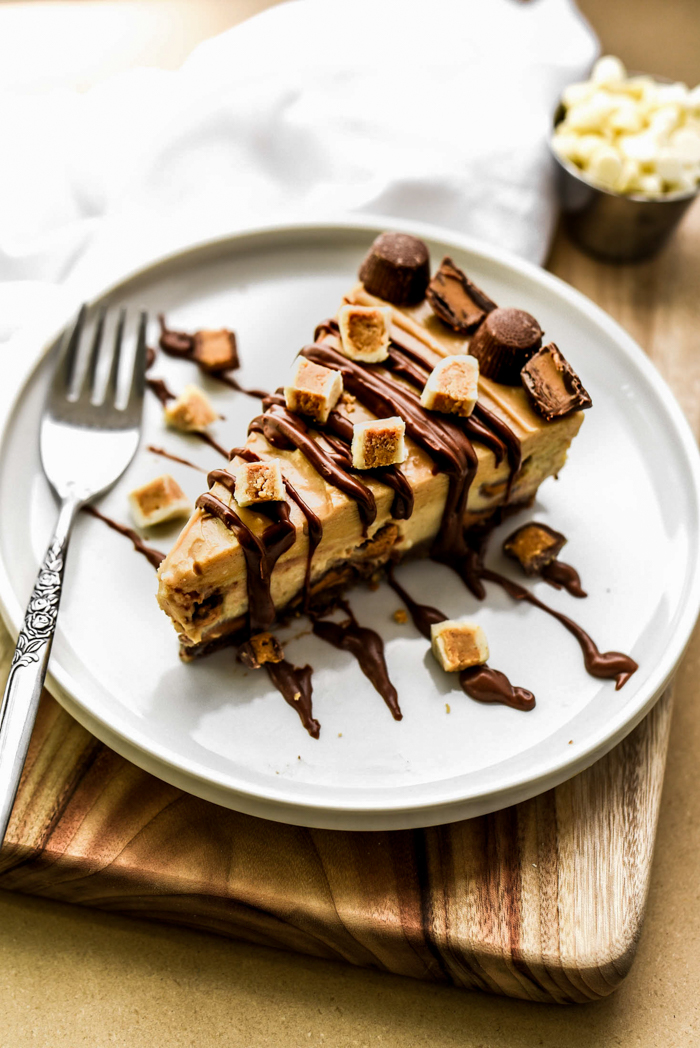
6. Decorate Plates
If you’ve ever been to a fancy restaurant you have probably seen beautifully plated foods on oversized dishes with swirly designs of sauces and caramels. This doesn’t just apply to desserts, you can do this with savory dishes as well.
Maybe you are styling a small appetizer or small bite food. Use a sauce that goes well with it, even if it isn’t necessarily in the recipe. This can truly class up any dish and make it look expensive.
Tip: For cold desserts like cheesecake, ice cream, or custards, you can prep the plates ahead of time. By doing it ahead of the photo you can keep trying to create the perfect design without messing up your hero food item. Don’t worry, it doesn’t have to be that perfect for every photo. Some photos look better with a more messy, natural sauce drizzle than a perfectly poured one.
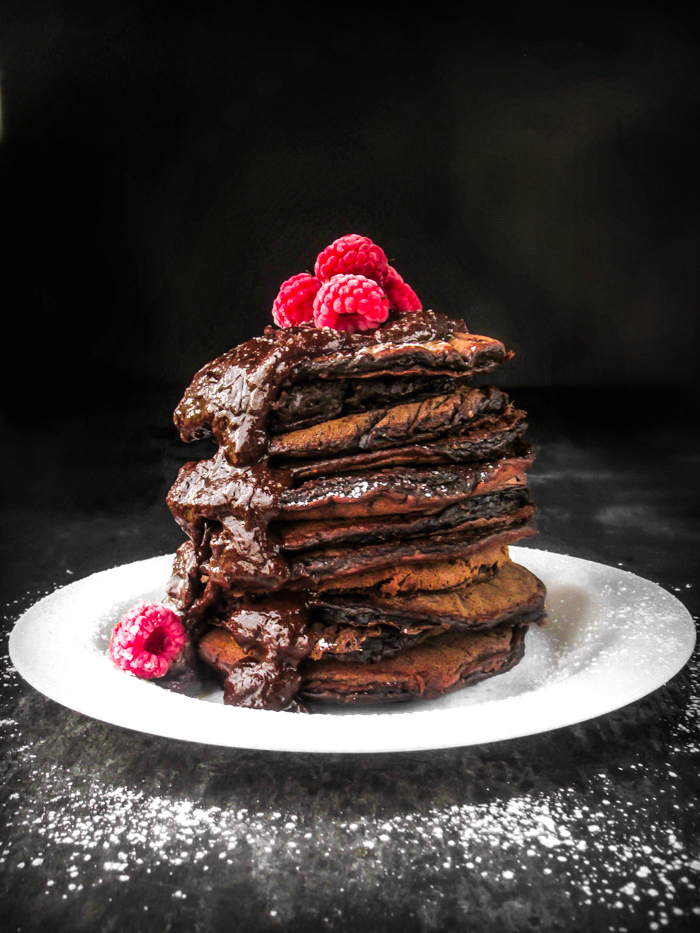
7. Freeze Your Berries
Berries can be a lovely way to add some color to foods that don’t have much on their own. They are one of the few foods that don’t look out of place when added to a food they aren’t an ingredient of.
One way to add a little extra interest is to use frozen berries to create that beautiful frosty look. This may not work in every situation, but in many photos it looks almost magical. I recommend trying in in dark moody style photos like the one of chocolate pancakes pictured below.
Note: Strawberries are an exception to this tip. They can appear moldy in photos, not appetizing.
8. Use Florals & Greenery
Adding fresh flowers and fresh greens to fill out a food photo can make the viewer feel as if they can taste the freshness. It subliminally screams healthy and nutritious as well, which can be exactly what you’re going for in certain images.
If you have a garden you will be fortunate to have fresh plants you use in your photos all the time. If you have a significant other who gifts you flowers you can be a weirdo like me and get more excited about using them in photos than just receiving them. You can even “borrow” flowers from friends and family who receive them. I mean, at least wait until they are starting to wilt before asking for them.
Ways to include fresh florals and greens into photos:
- Use edible flowers on top of foods: Most flowers are surprisingly edible and can make a flat boring food look stunning. Generally I use floral in sweet food photos like cakes, pies, or other desserts.
- Put real or fake flowers in a vase in the background: Keeping fake flowers on hand is a great way to have florals in emergencies. I recommend using fresh whenever possible but fake ones work great in a blurred background. Just don’t get them too close-up or you can see they are fake. This also applies to fake plants.
- Use fresh spring mix for salad photos: If you are taking photos of a salad or fresh recipe of any kind, sprinkling some salad greens around purposefully can liven up your photos.
- Go outside and get branches: Branches with leaves and even flowers can be exactly what a photo needs. For the Holiday season I love using pine branches and pinecones as well.
For more ideas on adding florals and greenery to your holiday food styling checkout this post: 14 Must Have Food Photography Props for The Holiday Season.
9. Toothpicks & Skewers
Not only can you use toothpicks and skewers to help hold stacks of food together but you can also use them to make a unique topper for a sandwich or stack of food.
Ways to use toothpicks and skewers in food styling:
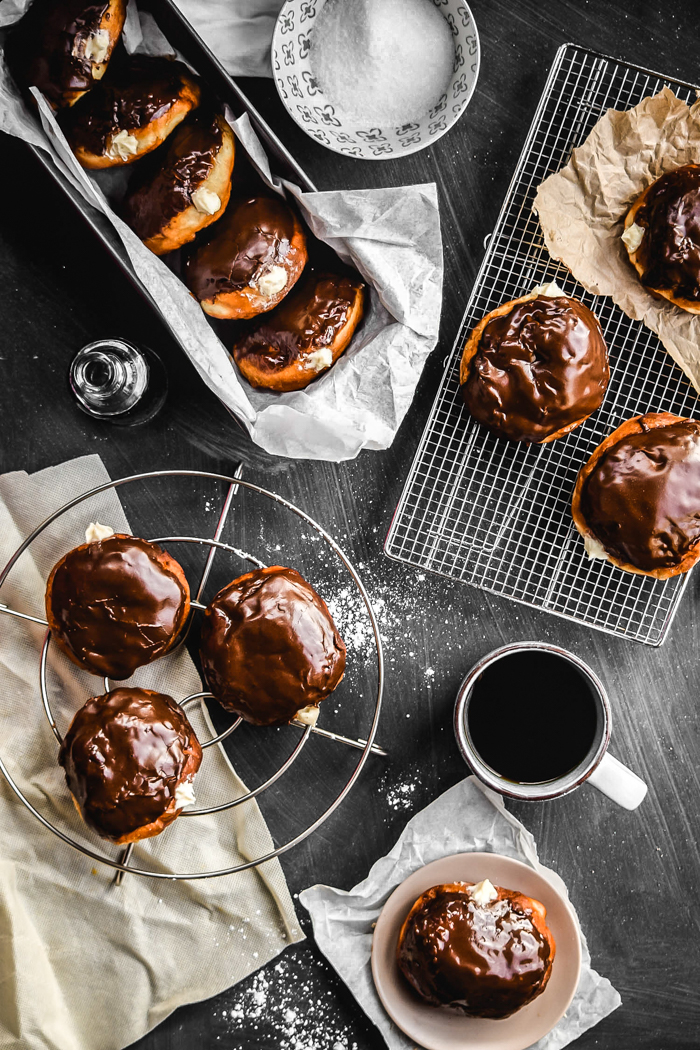
- Make fun and unique stacks of food: If you want to create those edgy, zany shots with leaning food stacks, haphazardly piled doughnuts, cupcakes, etc, you will need some toothpicks or skewers to keep them from toppling over.
- Create floating food photos: Admittedly not a style I have played with much. This can be a very creative way to capture food an an artful way. You can place foods on skewers and hold them up to create those magic floating food pictures. You will need the help of an editing software like Photoshop to remove the skewers afterwards.
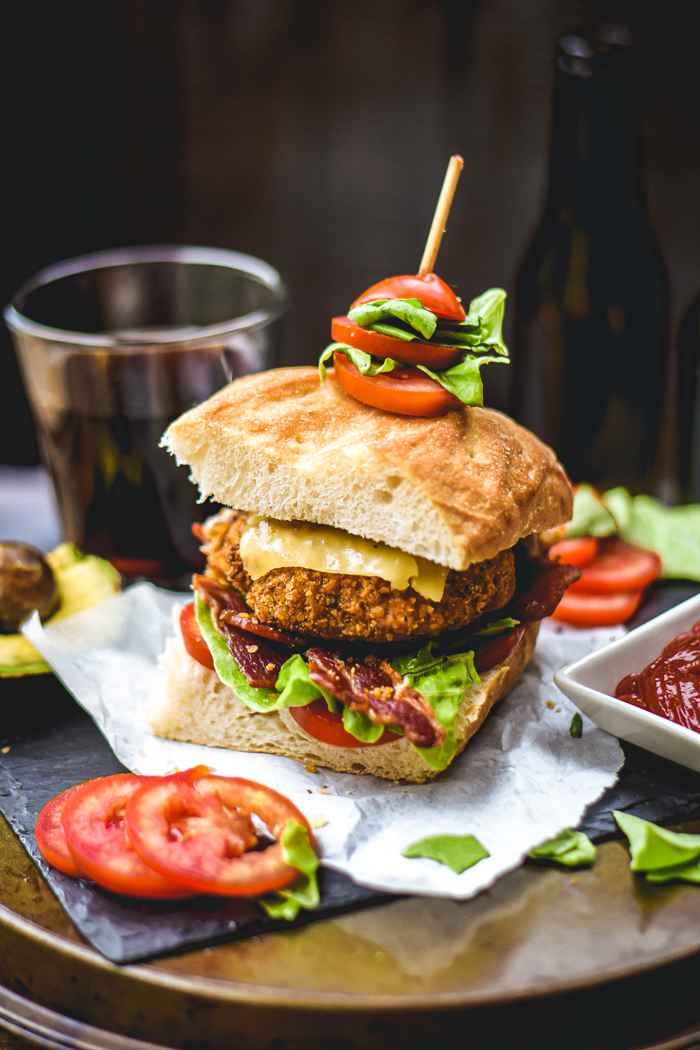
- Make sandwich toppers: As shown in the picture above, you can create those showstopping sandwich toppers. I believe restaurants use this as a way to both hold their tall burgers together and also decorate them.
- Hold sandwiches together: This one is definitely playing off the previous tip but you may just want to use some skewers to hold a towering burger together but not let it show. This also applies to a stack of pancakes, or anything you’d like to stack.
10. Undercook or Overcook Certain Things
When you are cooking something to enjoy eating or serving you probably have specific levels of doneness you like. For showing off a recipe in a photo though, you may be able to highlight it best by baking a little longer or boiling a littler shorter than you may prefer for eating.
When you may want to overcook foods for food styling:
For brown or beige colored foods, which are probably the most common, adding an extra dark brown on the edges can create way more contrast and therefore a much better photo. This applies to pie crusts, pastries, cookies, and many other light colored baked goods.
Burgers or other meats or anything that is supposed to look grilled can look very plain if undercooked on the outside. Many professional food stylists with keep a torch to create char marks or some type of searing rod around to create fake grill marks on foods.
When you may want to undercook foods for food styling:
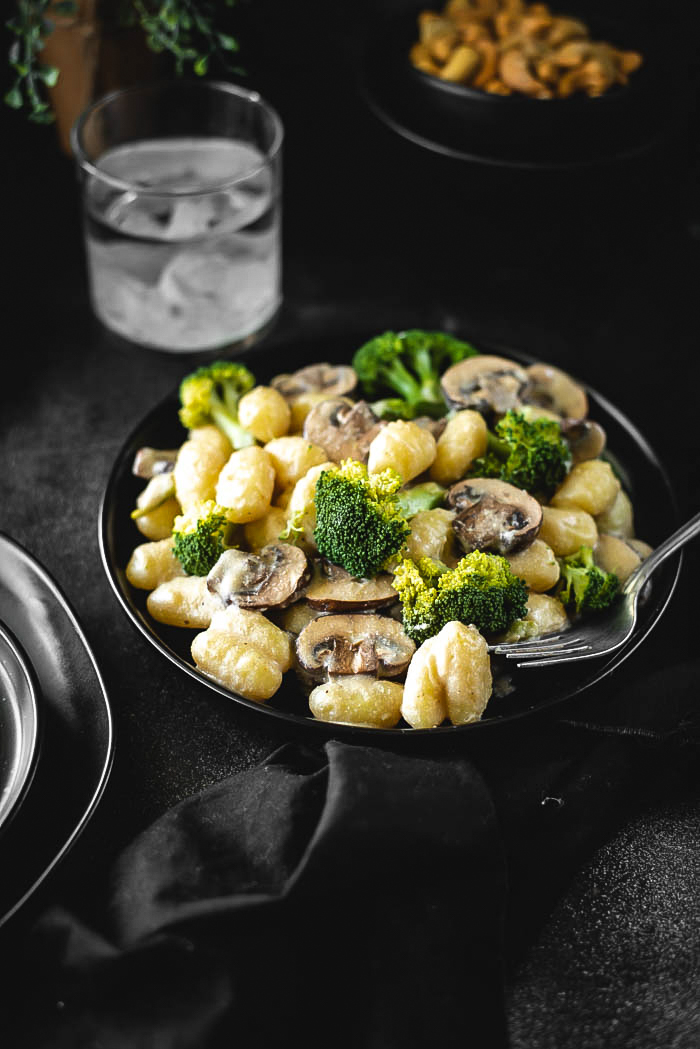
Vegetables cooked in water can quickly lose their color the longer they get boiled. This especially applies to dark leafy greens like spinach, bok choy, and kale and even broccoli. For vibrant fruits and vegetables in food styling, try blanching them just long enough to make them appear cooked, but not allow them to lose their color.
Brownies or other fudgy desserts like molten lava cakes can look far more appetizing in a food photo if they are left slightly on the gooey side. It is a fine line for sure. You don’t want something like brownies to appear raw, but no one wants cakey brownies (I mean maybe you do). This one is pretty case by case but for brownies especially, having melted chocolate makes for a great photo.
11. Get Messy With A Purpose
Here is yet another controversial ways of styling food. Many people prefer minimalistic and clean photos that look spotless, however a favorite trick of many food stylists is to just get a little messy. A sprinkle of crumbs here, a bit of spilled ingredients there.
This can get out of hand and look quite messy, but if you do is sparingly you can add realness and a bit of fun. Showing crumbs makes the viewer feel as if someone just took a bite or finished making a recipe. It also allows you to show the texture of the food and, in the case of bite shots, the inside.
Some ways to get messy on purpose:
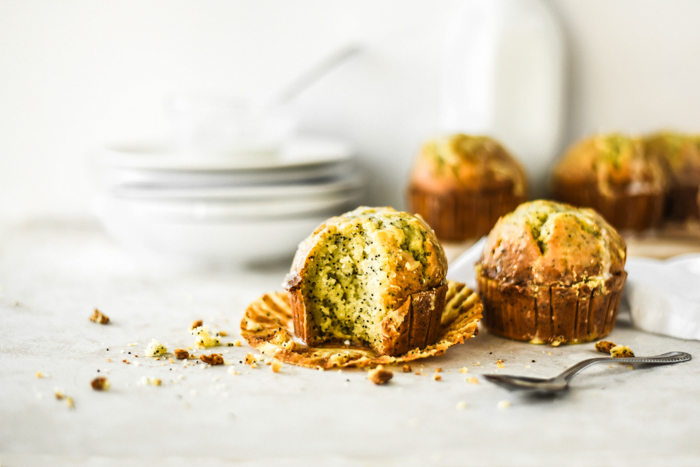
- Crumble up an extra baked good: Pretty self-explanatory, use some of the less beautiful baked goods for your photo to create a few crumbs to sprinkle without needing to ruin your hero muffin or whatever you are styling.
- Take a bite: I almost always use a fork for this in case I want to use that bite for crumbs. I also personally don’t like to eat while I work on a food scene. You can obviously just take a bite though.
- Sprinkle some of the extra ingredients: If you have extra ingredients used in your recipe you can use them to sprinkle around the subject. Thinks like extra berries, chocolate chips, coffee beans, you get the idea.
12. Create Swirls With A Drizzle Of Extra Sauce Or Spices On Top
This tips is similar to an earlier one but different because the emphasis is on creating swirls and designs on top of food. Is it pretentious to act like your food just woke up this way? Maybe. Hey, but this is art and in art we make things look good.
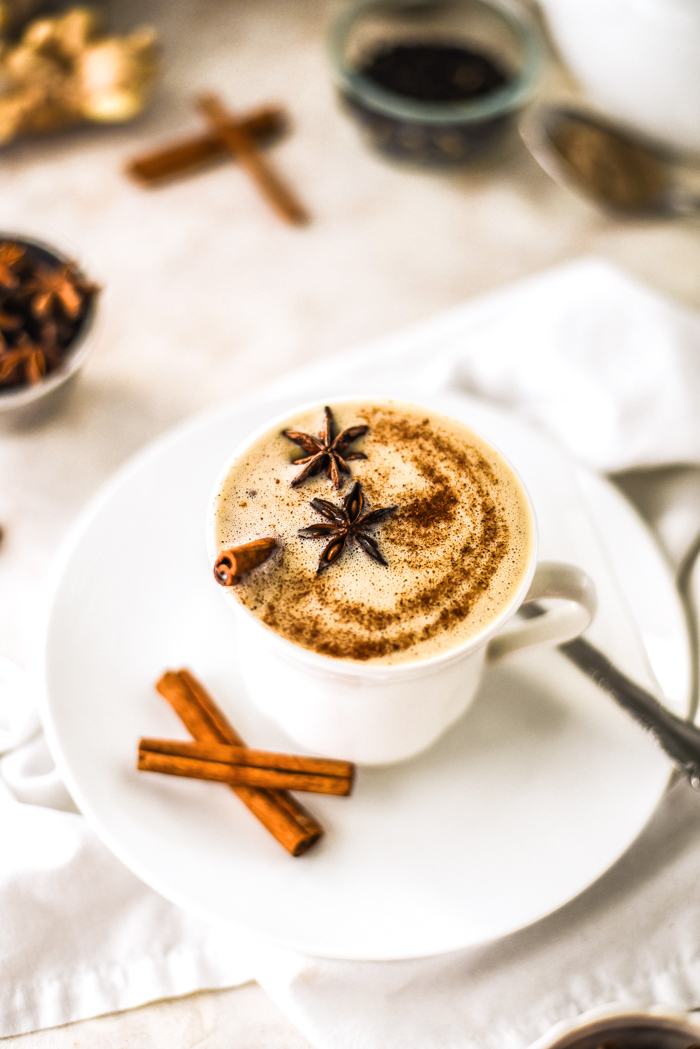
A chai latte or a smoothie bowl sometimes needs a little help to look as delicious as it tastes. If you need something more than just a garnish than creating swirly shapes and designs may be exactly what you need to style a food.
Ways to make designs on top of foods:
- Pour cream, sauce, caramel, etc: Use a squirt bottle if needed or simply spoon sauces over the food you are styling to create elegant swirls or designs.
- Use spices or powders and stencils: If you don’t have a stencil you can use an edge of a plate to create a make-shift stencil on the edge of whatever dish you are taking pictures of. However, you can also just use a stencil. There are many types of stencils you can purchase to create designs with spices, powdered sugar, or cocoa. If you don’t have a stencil then a small pastry bag filled with spice may work well to pour swirls.
- Sprinkle with powdered sugar or cocoa: A simple enough littler trick, but one that can go a long way. Try a small dusting of cocoa on top of a mug of hot cocoa with marshmallows or a touch of powdered sugar on top of any dessert.
- Make designs with chopped nuts, seeds, or extra ingredients: For food like oats or soup you can create lines with ingredients like coconut shreds, chopped nuts, and so much more. You have probably seen this on smoothie bowls many times.
13. Use Layers & Shapes
This idea applies for photos taken at all angles but most importantly for overhead shots. A flat-lay photo of food can quickly appear boring or cluttered without some interesting shapes.
You can create guiding lines with squares or rectangular shaped objects. Using bowls and cloths can create those lovely curves that add a sense of flow and motion to a photo.
Things to try when creating layers in a food photo:
- Use a combination of circles, squares, or other shapes to add interest and lines. This can be small bowls, plates, and trays, and any other kitchen items you can think of. Using a variety really engages the eye and can help lead the viewer immediately to the subject you want to be the main focus.
- Stack Items to create height and dimension in your photo. Stacking bowls on plates, adding cooling racks, and using cutting boards or trays can all make for a stunning photo.
- Use linen and paper to create lines and curves. Things like tissue paper, newspaper, cloths, and napkins are all wonderful additions styling food. They can create depth without adding height.
14. Add A Human Element
One thing that can really set apart a food photo is adding a touch of humanity. We all love to look delicious food but one of the proven ways to catch peoples attention is to include humans in photos. This just creates a level of rawness and makes the photo feel as if you are inviting the viewer into your kitchen.
You can include people in your photos in many ways. You do not need to show faces, although you can do that too and create some very unique images if you like.
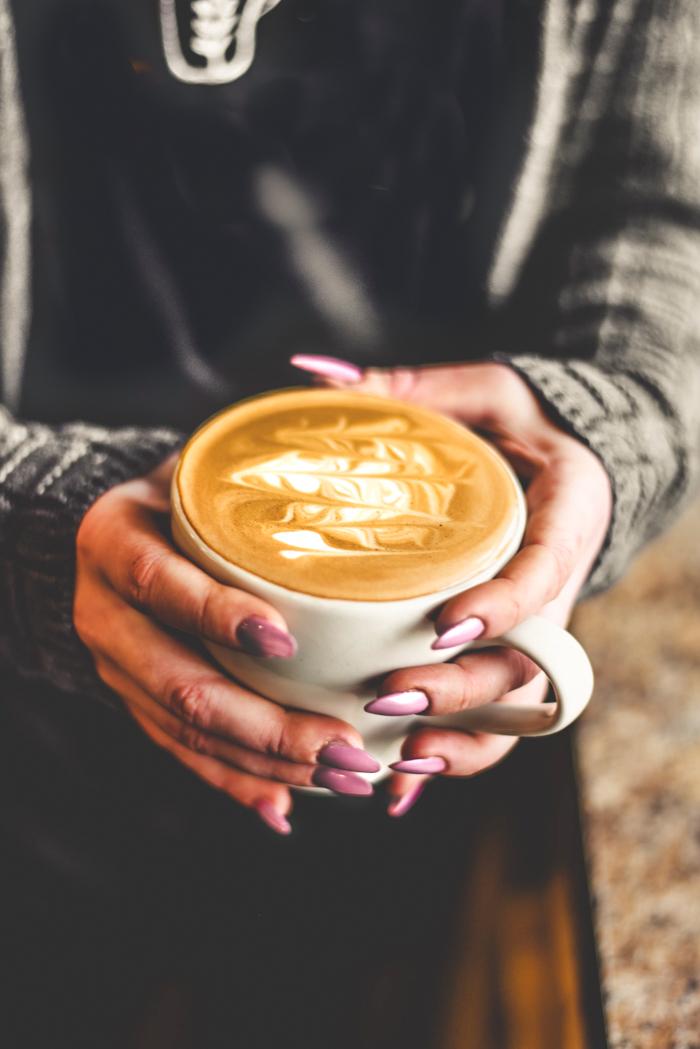
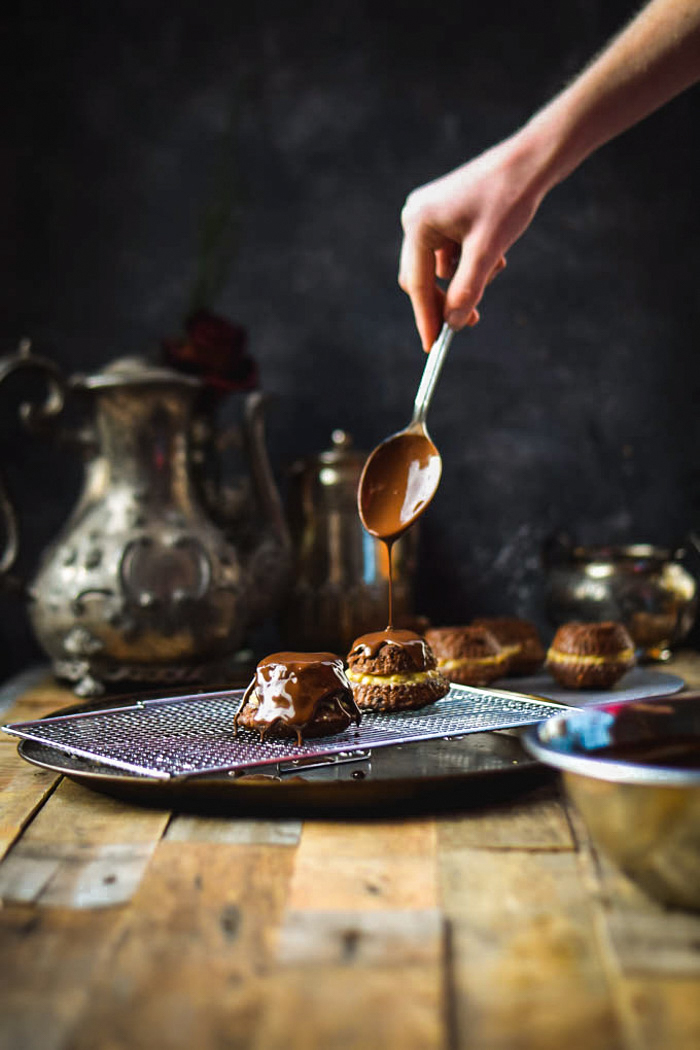
Ways to add a human touch to food photos:
- Mug shots (with coffee 😉 ): A classic and elegant way to include people into your food styling is to capture someone’s hands while cradling a mug, a bowl of soup, or a serving dish full of food.
- Pour/drizzle shots: Use a tripod to secure your camera for action shots like this. You can take many consecutive photos life this to create a GIF or even make a stop motion video.
- Kitchen action shots: Take photos of a dish being made for some extremely artsy process shots. Capture someone rolling out a pie crust and wearing an apron, or mixing a bowl of batter.
- Cutting or serving shots: Getting a photo of someone slicing a pie or serving a piece of cake is a great way to include that extra friendly touch that tells the story of sharing food with friends and family.
If you enjoyed this post, share it or pin it for later!
This post contains affiliate links. This means, at no additional cost to you, I will receive a commission if you purchase something with my link. You can learn more here.

