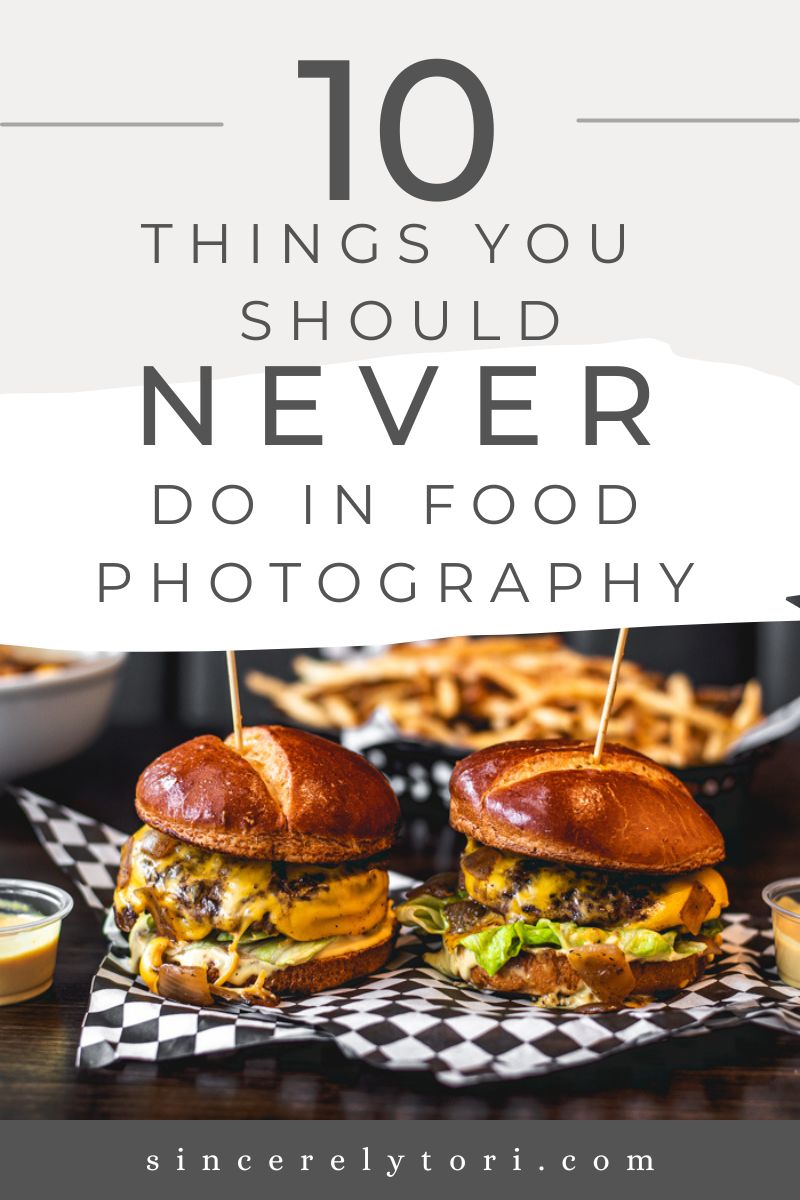
10 Things You Should NEVER Do In Food Photography
Mistakes you should avoid if you want breathtaking food images.
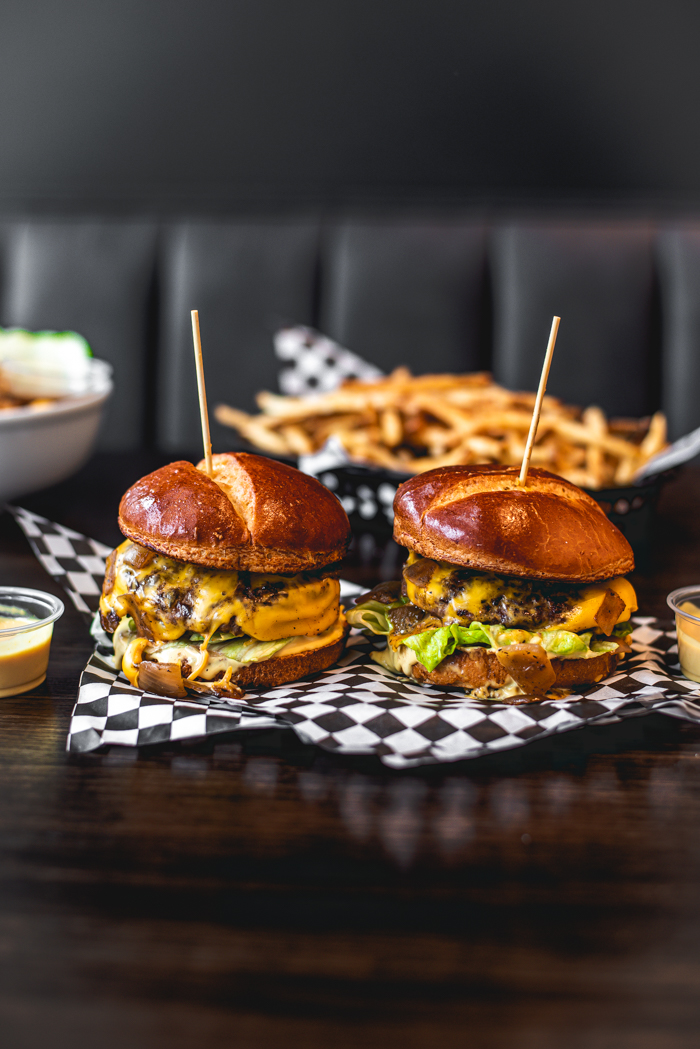
Food can be a tricky thing to take photos of but it doesn’t have to be. By knowing what mistakes to avoid you can focus on getting exactly the final shots you want. Let’s talk about ten dos and don’ts that can help you take better food photos.
1. [Don’t] Use Direct Camera Flash or Indoor Lighting
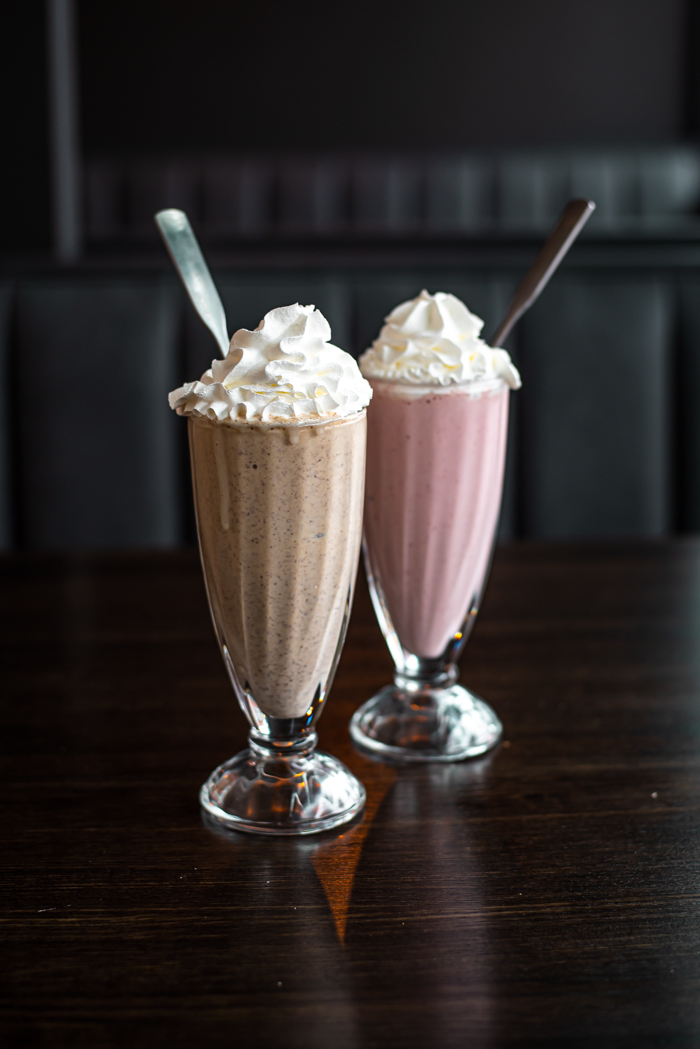
This is number one on our list for a reason because light is the most important factor for photography. While some very experienced food photographers may possess the necessary skills to use professional flash set-ups, most food photographers should never use a flash. More specifically, you should never use the small flash attached to your camera. Ever.
Flash on food creates lots of harsh shadows and very unnatural looking bright spots resulting in a plastic-like look in your final photos. If you need to add light to a scene, try natural light from windows and add a reflector or some bounce cards.
With almost all indoor lighting, you will get a very undesirable color tone that is not at all complimentary for food. If you are using a combination of different lighting, such as natural and artificial, you will find it difficult to color correct in post-processing.
2. [Don’t] Take Photos of Ugly Food
It should go without saying, but if your subject is ugly your photos are likely to be ugly as well. It doesn’t matter how skilled the photographer is if they are starting with an unsightly or gross looking plate of food.
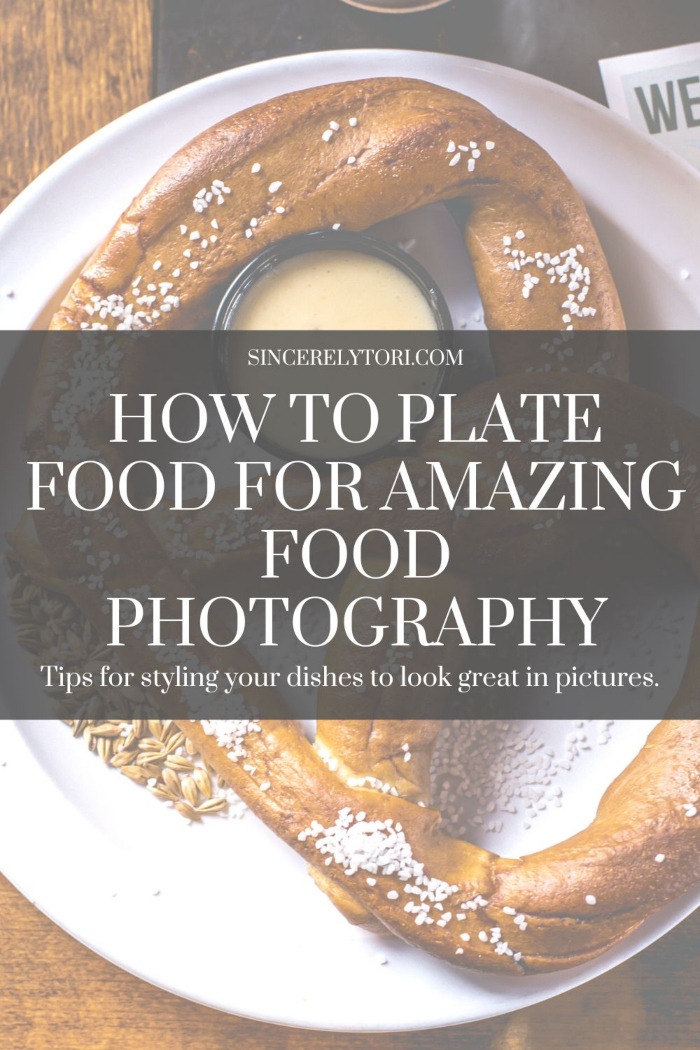
Make sure your dishes are clean and that the the food doesn’t look old, melted, burnt, cold, or any other way it’s not supposed to look. Keep in mind people eat with their eyes first so make everything look scrumptious before you even start taking photos.
Check out this post about How To Plate Food For Amazing Food Photography for some tips for making your food look amazing.
3. [Don’t] Not Take Advantage of Using Props
Now, even if your food looks great it can be challenging to get the final photos you want if your scene is very plain. If pop-art and minimalist food photography style is your thing, go for it. However, many photographers find they enjoy adding props and unique dishes to help tell the story of their dish and its flavors.
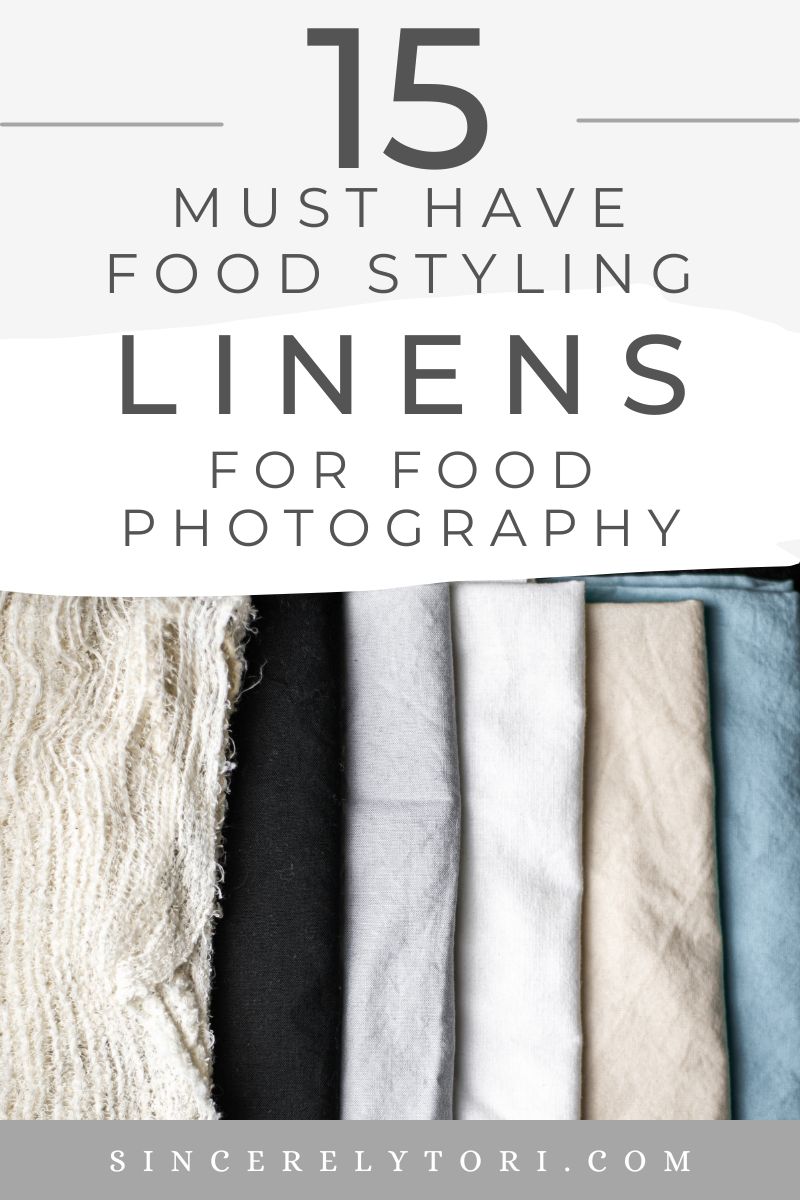
Props can be anything from antique dishes to textured backgrounds. I love to make props of extra ingredients either on their own or in small dishes on the side of my subject. Play around with different dishes to discover what kind of props you love.
4. [Don’t] Use Head-On (Front) Lighting
The direction of light you use is very important in food photography to control the style you’re trying to achieve. The only direction of light that you should basically never use is light from a front angle. This is because light from that angle casts all the shadows toward the back of the scene and out of sight. You’ll lose all the detail and definition of the food and have a very flat looking image.
For better results try playing with side lighting and moving the light away from and closer to the subject to see how it effects your pictures. If you’d like a dramatic look, back lighting can be a fun style to play with. You may want to add something to reflect some light back onto the subject. A bounce card or poster board should help to avoid the front of your food being too dark.
5. [Don’t] Take Photos from the Wrong Angle
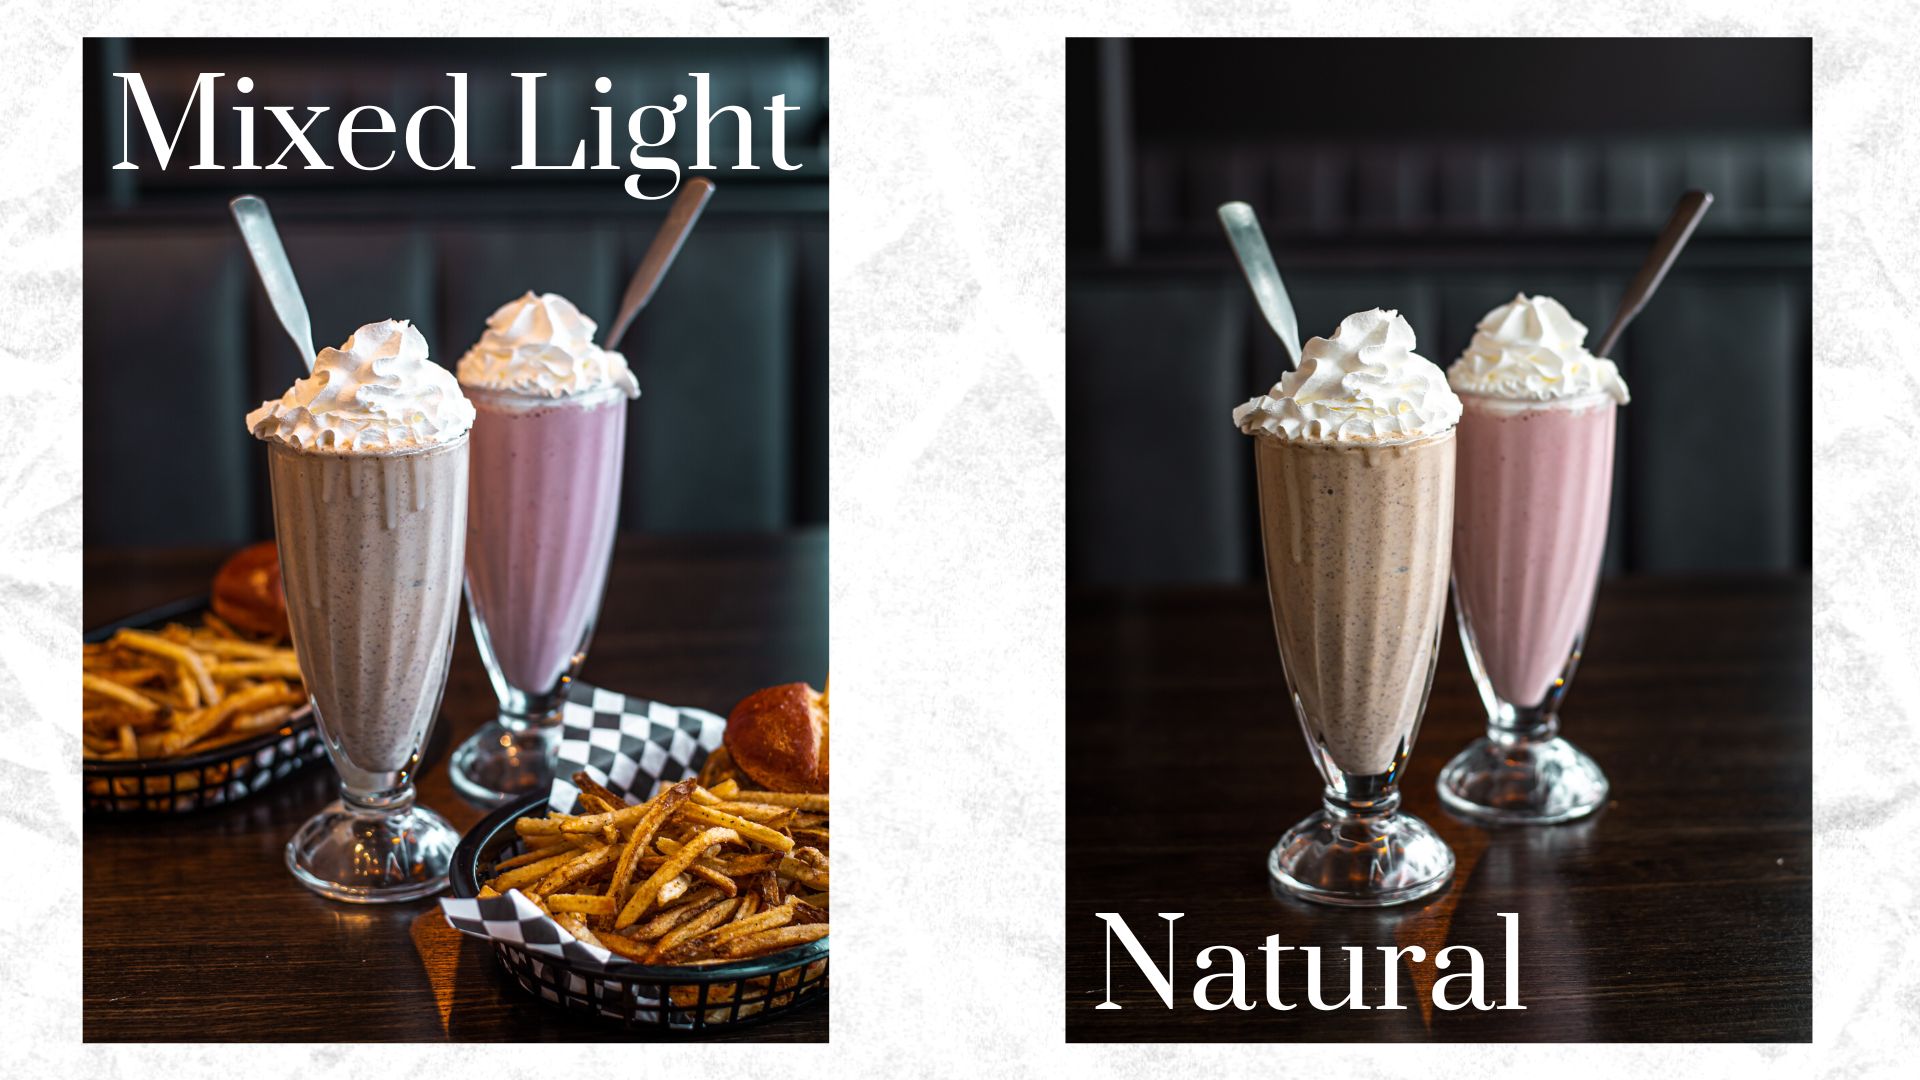
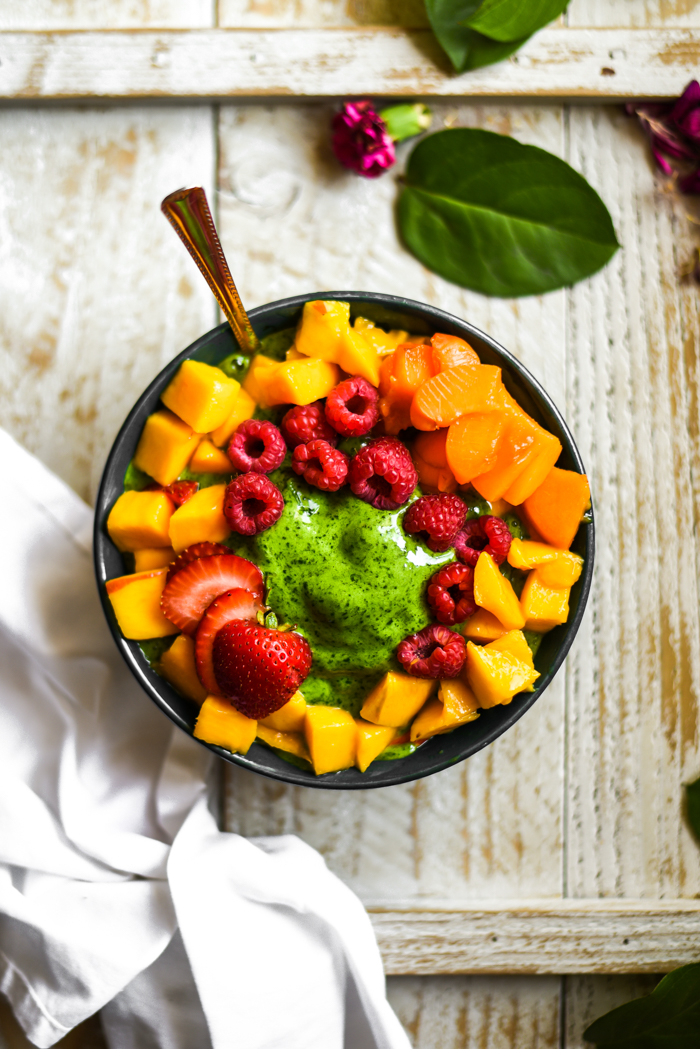
Not only is the angle of light important, but so is the angle you are pointing the camera. This is a very subjective topic, as every food is going to have a “good side”. For example, a drink or a burger may look its best from a front on (0 degree) angle, while a smoothie bowl looks great from an overhead (90 degree) angle. Additionally, many foods may also be best from a front, downward angle (45 degrees).
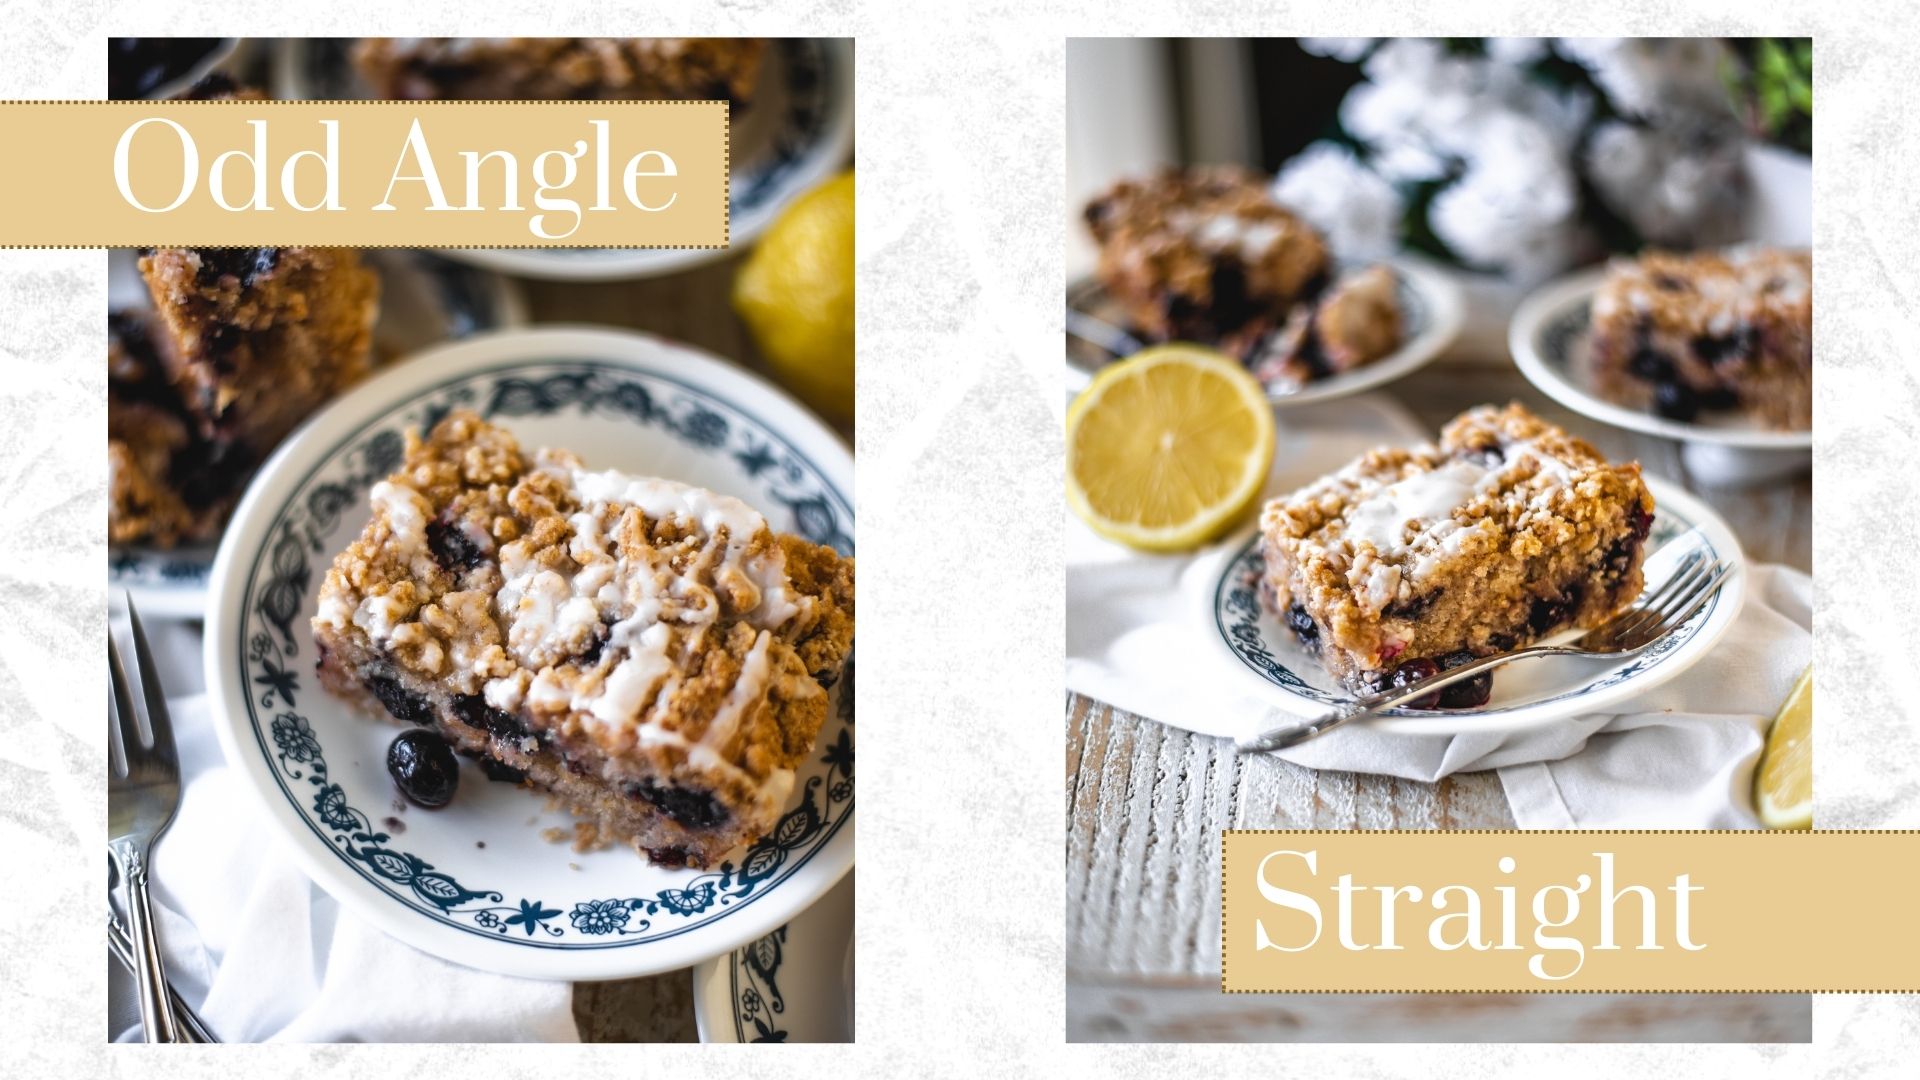
What you should not do is take photos from wonky angles like diagonal, off center, or any other angle that may cause strange lines and make the picture look unbalanced. Pay attention to all the lines in the foreground and background of your photo to make sure everything is straight.
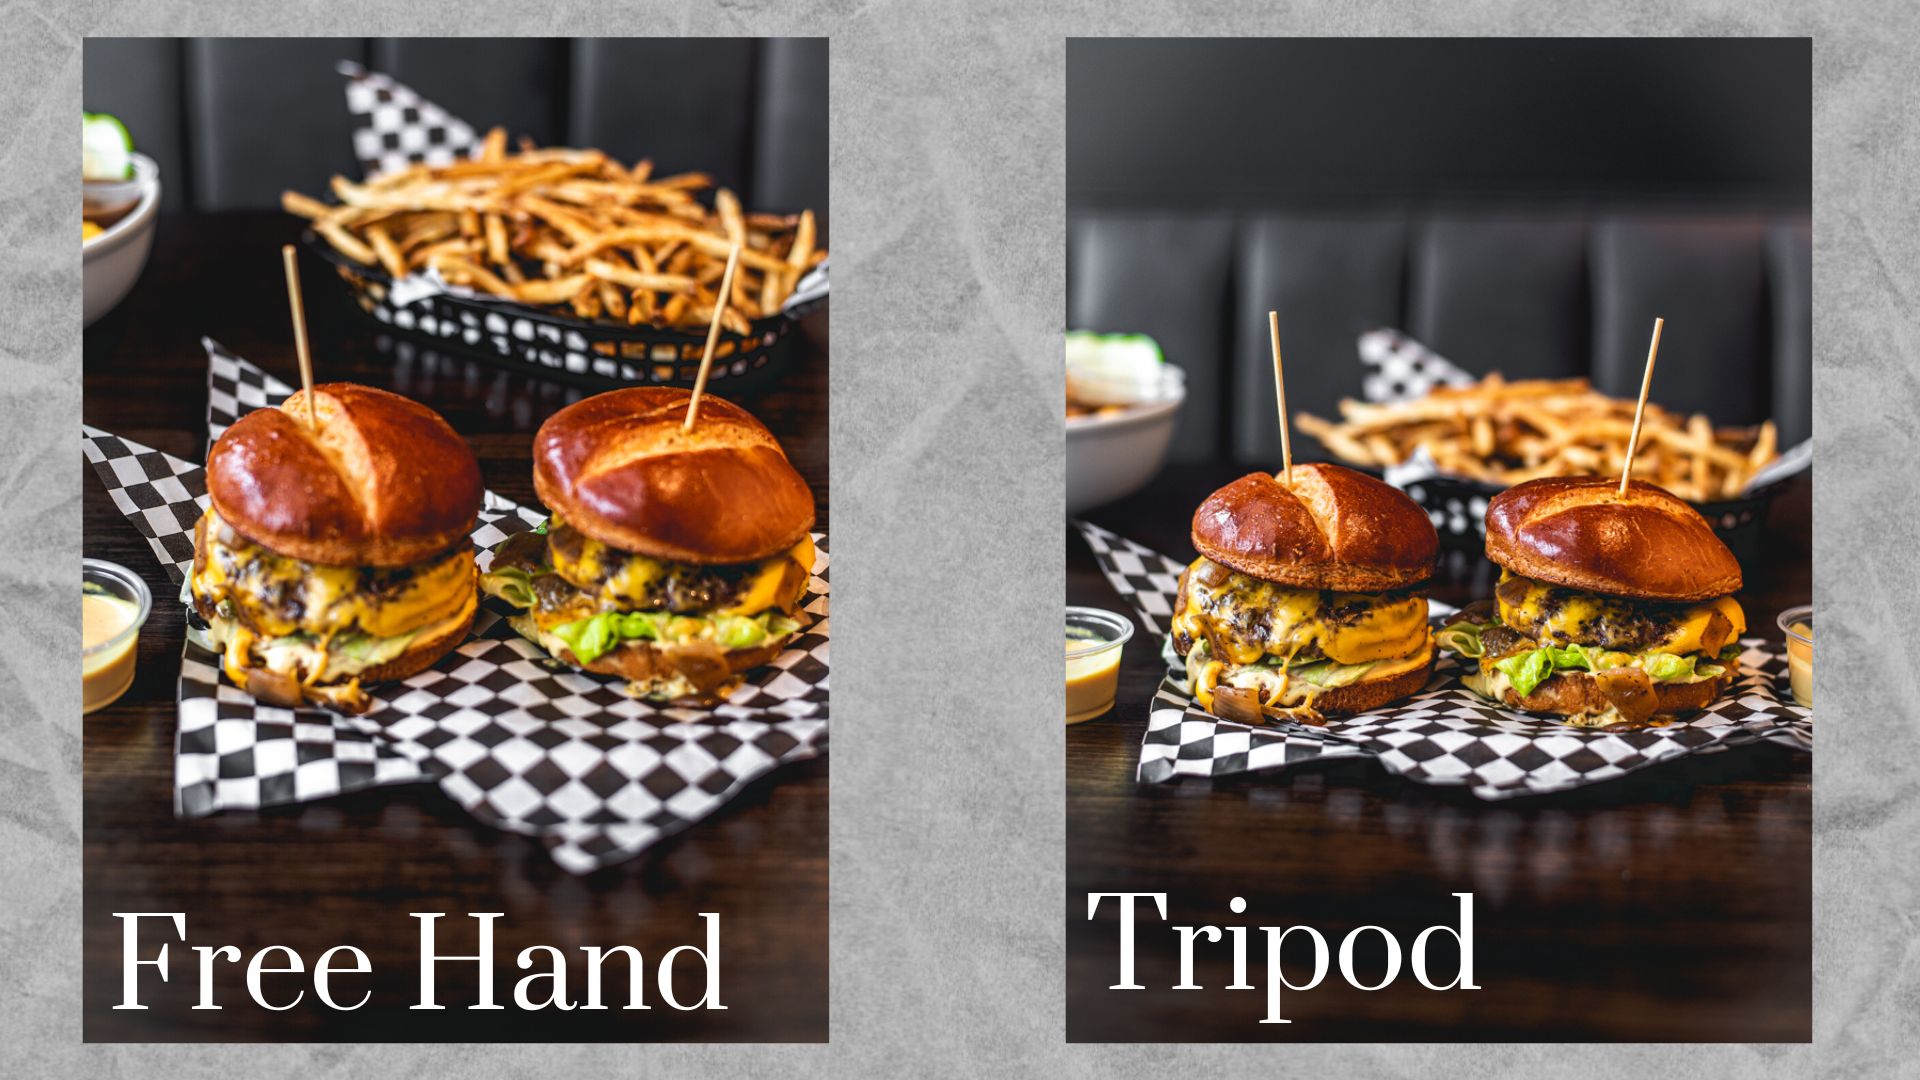
6. [Don’t] Not Use Stabilization
A tripod can sometimes be just as important as a camera, especially in poorly lit settings. The lower the light the more stable you need your camera to be to get sharp images. If you are moving even slightly while taking a photo you will likely get blurry, awful photos.
Some things you can try if you’re in a pinch and don’t have a tripod are:
1. Use the three points of contact method by pressing your elbows into your sides while holding the the camera tightly in your hands.
2. Grab a chair, table, or other stable object to place your camera on to take your photos.
3. Adjust the shutter speed on your camera to at least 1/250 sec to take photos more quickly and avoid motion blur. If you aren’t familiar with manual mode on your camera you can also try the sports setting as it’s designed for quickly taking photos and avoiding motion blur.
7. [Don’t] Get Too Cluttered
I know I just said to use props and those are important, but don’t get too crazy. Adding more than a few props can quickly start to distract from where you want the focus to go, which is your beautiful food. Be intentional about adding props to your scene that add to the story and mood you want to convey. If a prop is not serving that purpose, get rid of it.
Some tips to keep from making your scene look cluttered is to use similar color schemes for the props you use. Think all white, all metallic, or all browns. This helps fill in the photo without drawing too much attention towards the props. You can also try using a tight focus by adjusting your aperture to a low f-stop. Aperture priority mode is very useful for this.
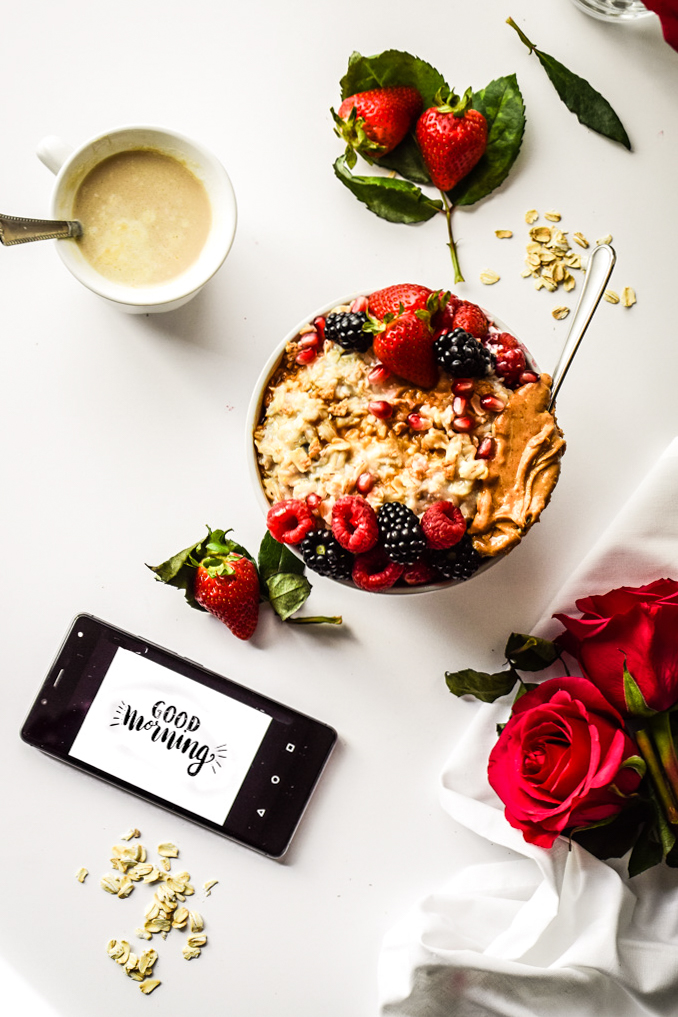
8. [Don’t] Forget To Add Garnishes and Toppings
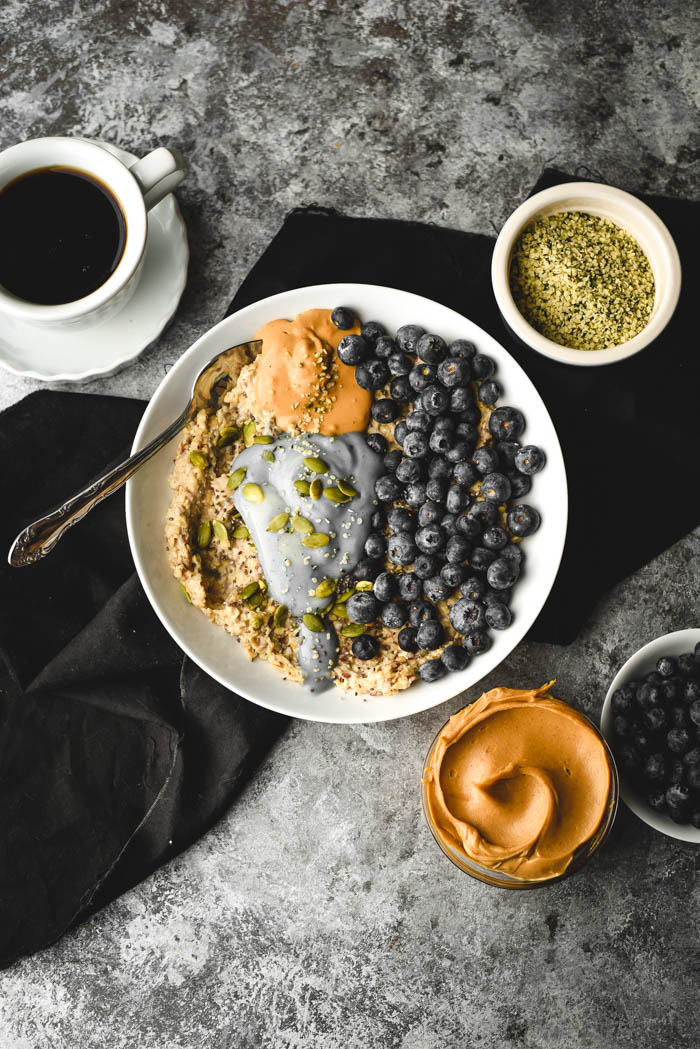
Some foods may be red carpet ready without any help, but let’s get real. Most foods need a little help looking as good as they taste. A bowl of pureed soup for example, or a green smoothie bowl. They can certainly benefit from some dashes and drizzles of things that are interesting to look at. This is especially the case with any kind of food that is mostly one color.
When choosing garnishes and toppings think about what flavors or ingredients you’ve already added to the dish. Would any of those look good on top or on the plate? If not, try to think of what kinds of herbs, spices, sauces, etc. may be complementary to that dish. I love to add drizzles of cream on soups, berries on smoothie bowls, and spoons of nut butter to plain oats.
Also think about colors that may be complementary. You can read more about color theory in food phytography to get a better understanding of how colors effect each other.
9. [Don’t] Use Bright Colors or Patterns
This one goes right along with the last tip. Another way you may distract from the star subject of your photos is by using loud neon colors or patterned dishes. These types of dishes will make it hard to draw the viewers eye straight to the food and will instead distract from it.
For more tips about choosing dishes for food photography check out this post: What Color Plates Are Good For Food Photography?
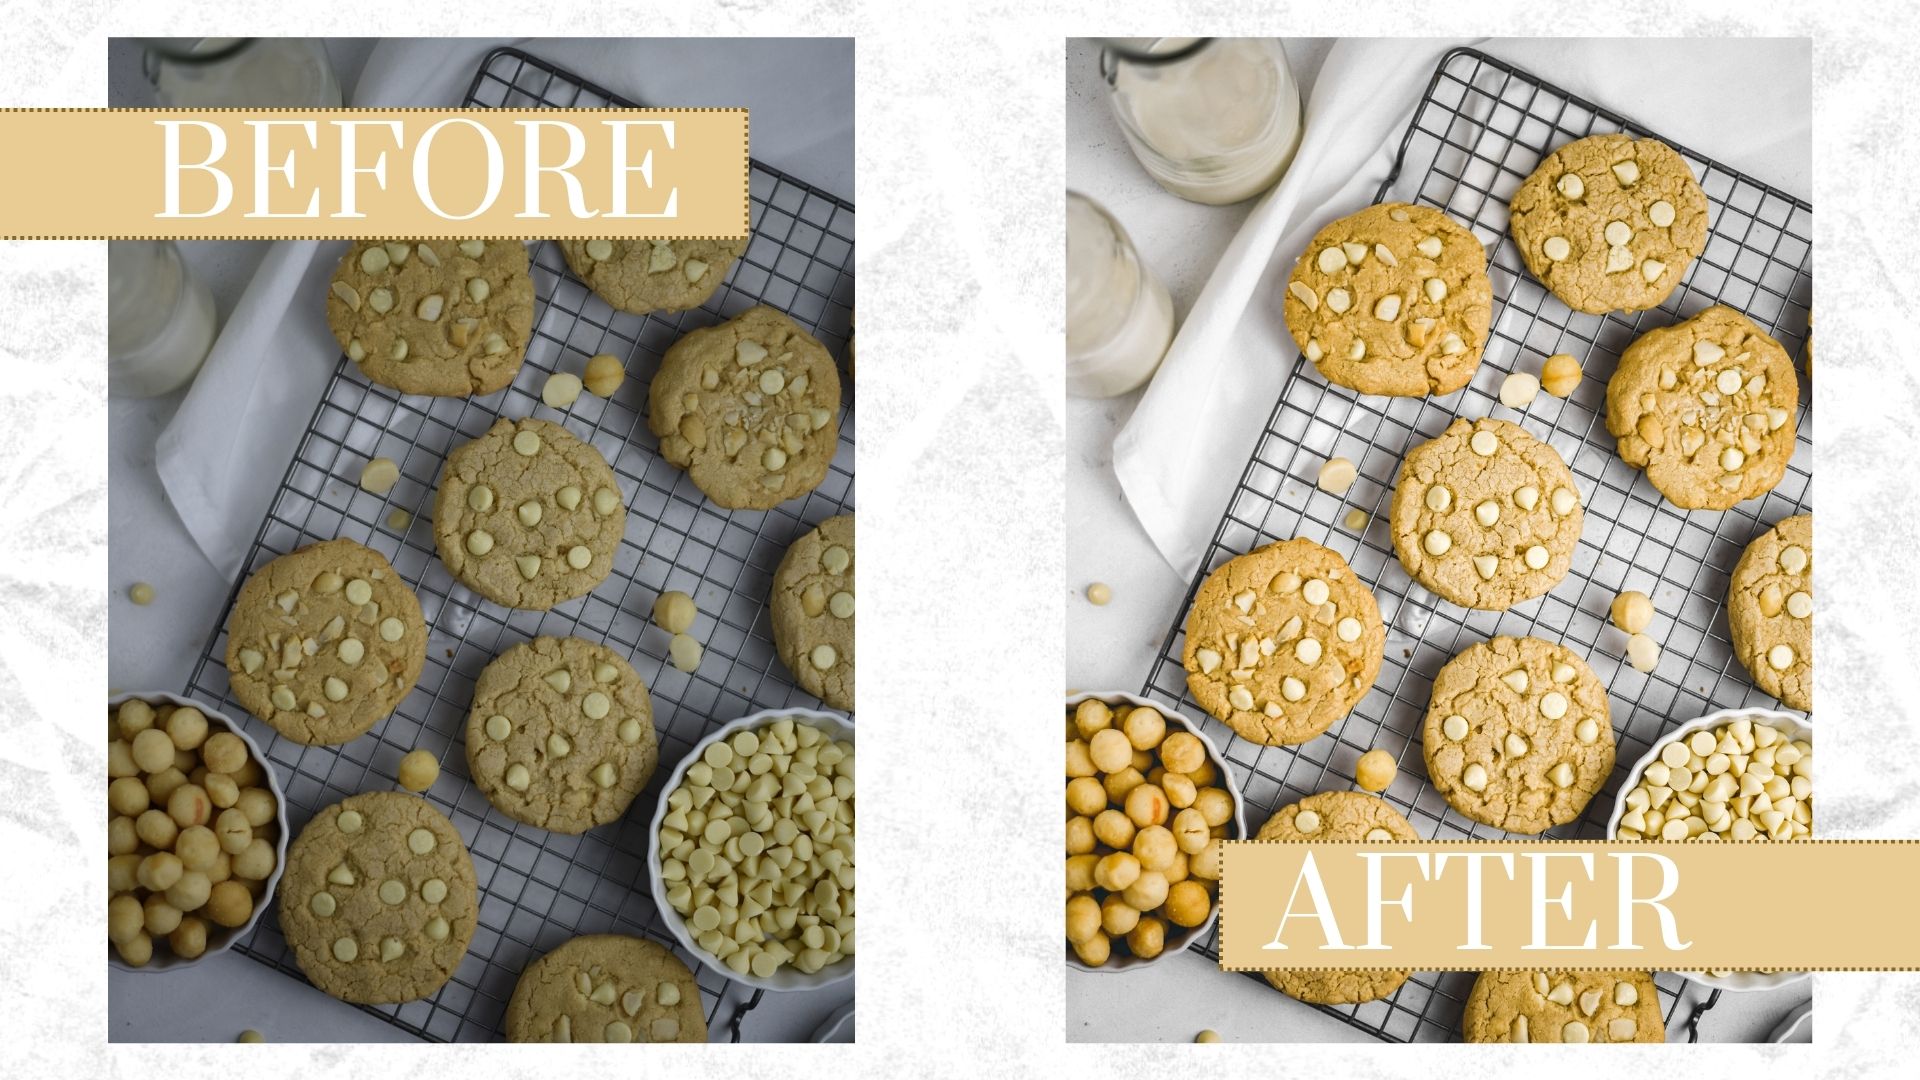
10. [Don’t] Think You Can’t Use Post-Processing or That It’s Cheating Somehow
When it comes to getting perfect photos, there are all sorts of challenges you may run into, from bad lighting to fading food. Don’t think you can’t correct a lot of small mistakes with editing. I love using Adobe Lightroom and it has saved my photos from being completely useless more times then I can count. You can try it for free and then pay a small monthly fee to have access to all it’s features or get the entire Adobe suite. There are many other editing software programs you can try for free as well.
Back in the day photographers had to be way more skilled to get perfect film photos each every time, but now everything is digital. Just don’t get caught up believing that you have to get a perfect photo with the perfect settings every time. Editing tools are available and getting more advanced everyday. Now there is even AI that can edit your photos for you.
Final Take Away:
Learning all the tips and tricks of food photography can be overwhelming at first, but don’t stress about anything in the beginning. There’s no need to get too into-the-weeds of dos and don’ts when you’re first starting out.
Practice is the best teacher so grab your camera and a cupcake or something equally delicious and start shooting. You will learn quickly and all the tips and tricks you read or hear along the way can serve as guides to help you improve your craft. This journey is meant to be fun and filled with passion. These ten things to avoid are meant merely to serve as tools in helping you create the best work you can.
This post contains affiliate links. This means, at no additional cost to you, I will receive a commission if you purchase something with my link. You can learn more here.