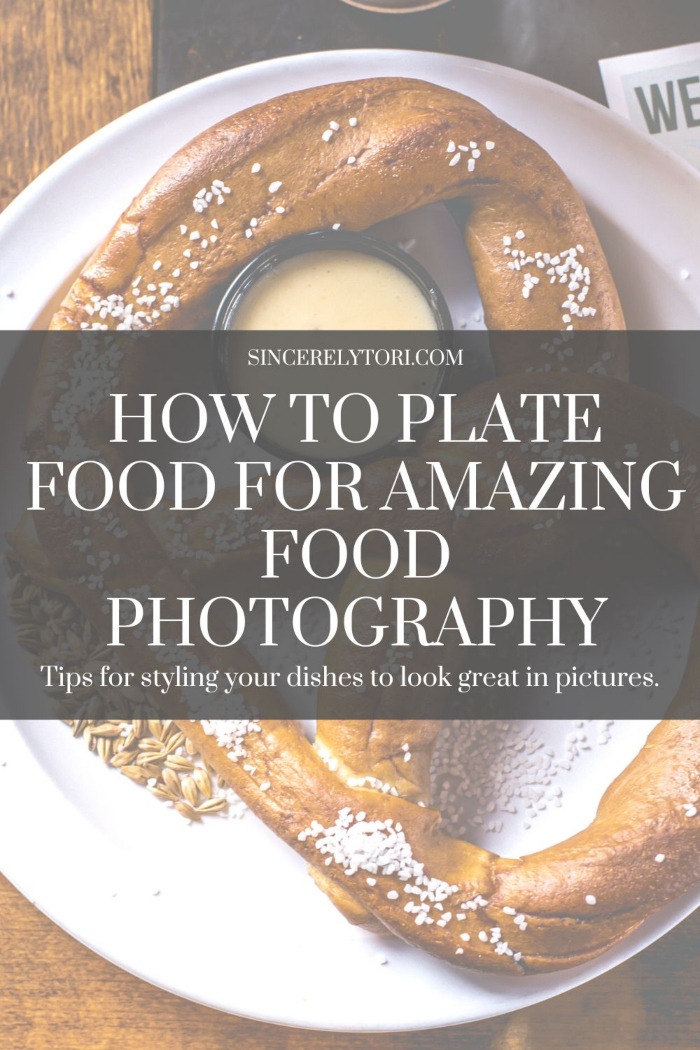
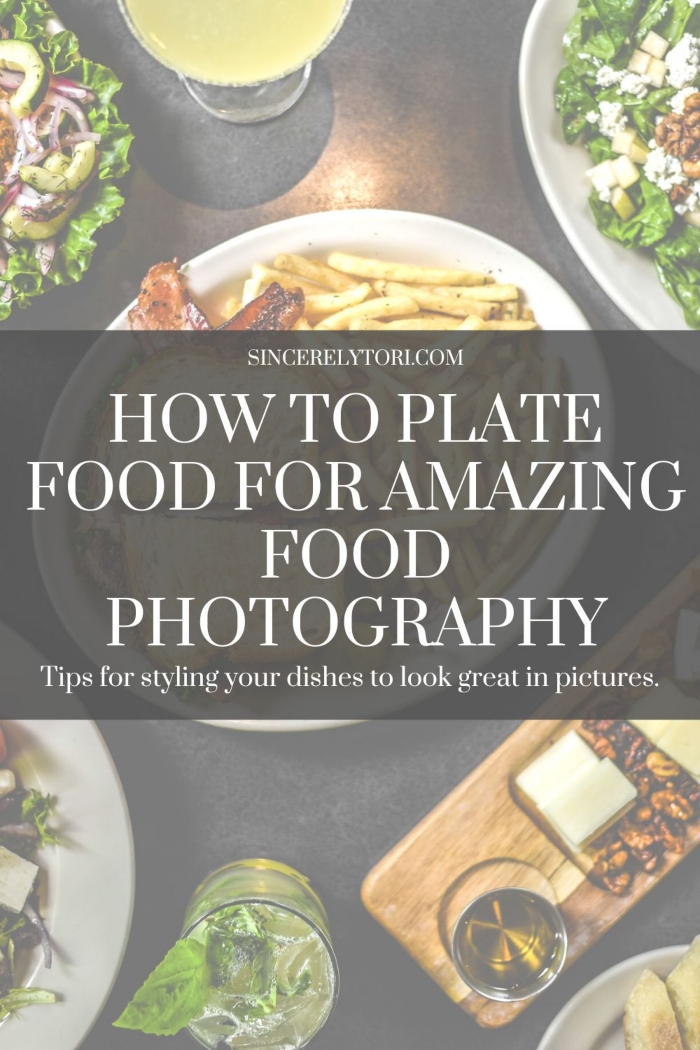
How To Plate Food For Amazing Food Photography
Tips for styling your dishes to look great in pictures.
Learning about how to take beautiful photos of food and edit them to perfection are important skills for every food photographer. Before you can get to those steps, however, you have to set the scene and make your food look fabulous. There’s little point in trying to take photos of poorly plated food that just doesn’t look appealing.
So, how do food stylists make food look good on plates and dishes? In this article we’re going to go through all kinds of helpful tips and information that can help you plate your food like a pro every time.
Understanding the basics of food plating and presentation for photography
It’s simple right? Just set the food on the plate and bang boom you’re ready to go…….not so fast! Did you add any toppings? Did you accidentally drip sauce on the plate? Is there an ugly brown spot on that avocado? There are so many things that can get in the way of your photo perfection.
The basic things to keep in mind when plating food for photography are:
1. Choosing the best plates for food photography
The first thing to decide when plating food is what plates to use. Typically a plain matte and neutrally colored plate is best for food photography because they do not distract from the food. Earthy tones or black and white are usually best.
You can check out this post about What color plates are good for food photography for inspiration about plates and dishes. Make sure the plates are clean and don’t have cracks or scratches.
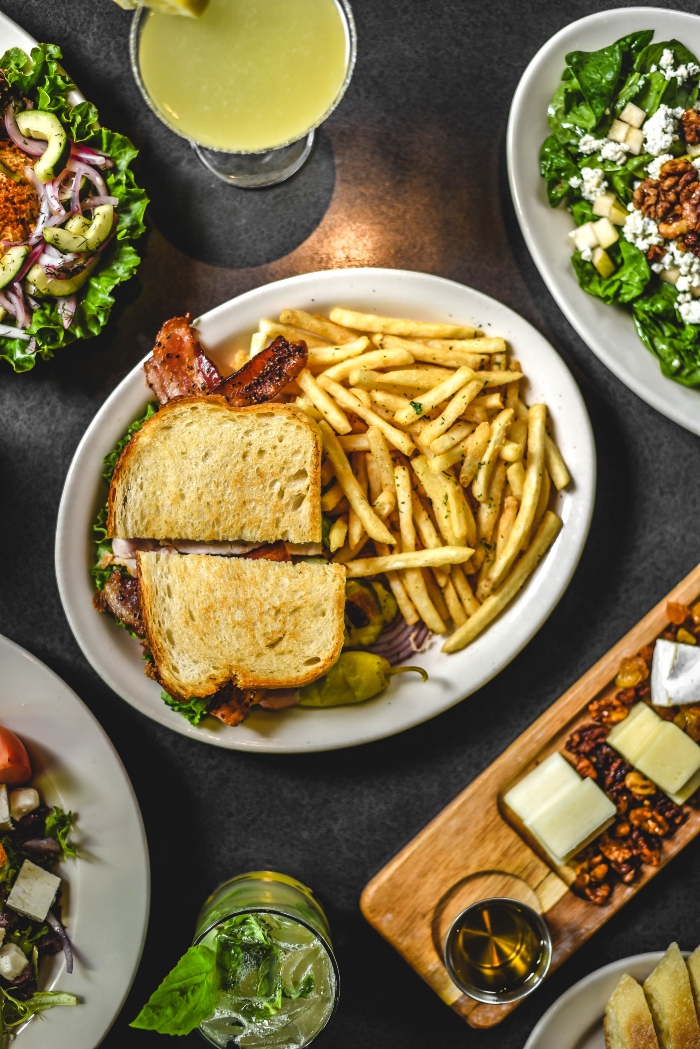
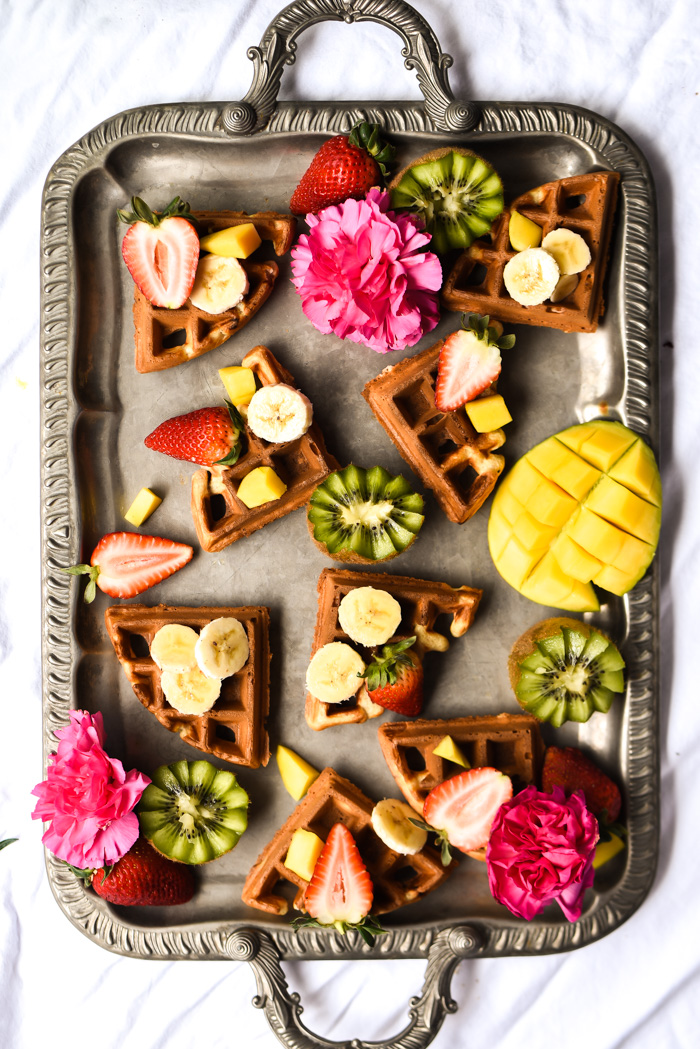
For photos with multiple dishes you can use mixed and matched plates in various colors and shapes to create contrast. Keep in mind that you can also use things other than plates for your food as well. Try plating your food on trays, in shallow bowls, or even cooking pans.

2. Color theory and how it applies to food plating for photography
You can’t really go wrong with basic black and white plates but if you’d like to use colorful plates you can start by learning about color theory. Color theory helps to understand how different colors pair together and cause different moods or emotions when viewed together. By looking at a color wheel you can see how combining certain colors together can compliment or contrast each other in a way that is pleasant to look at.
When plating food, consider these things in relation to color;
- Think about the colors of your food and how it will look on the plate you’ve chosen. Will there be contrast or is the food close to the color of the plate? Choose a plate that will make the food stand out.
- Next consider the colors of the foods you are pairing together. Will they compliment each other nicely or clash?
- Lastly, think about what colors you can add to the plate using toppings, garnishes, sauces, etc.
There are many articles about color theory online if you’d like to learn more about it and how it applies to food photography.
3. Creating a focal point in food plating for photography
When we’re plating food it’s a good idea to consider where we want the focal point to be in the photo. A focal point is crucial for drawing the viewer’s eye right where you want attention. Without a focal point a photo may appear boring or cluttered.
You can do this in a few ways;
Front and center:
The most obvious way to create a focal point is by placing your dish in the center of the frame where the eye naturally goes first. This works for taking photos from every different angle.
A note on aperture: If you are taking a close up photo or using a wide aperture, you’ll still need to choose a spot on the plate to focus on even if the plate is in the center of the frame. Using a wide aperture (f/1.4 – f/3) reduces the depth of field to focus tightly on the subject or even a small spot on the subject.
Negative space:
Negative space is one of my favorite ways to create focal points. By leaving space you are artfully drawing attention where you want it to go as if it were magic. Try creating negative space in the foreground or background of your scene if you are taking a front on angle. You can try placing the subject to one side or another and leaving space. For overhead angles arrange your subject(s) to frame the shot in a creative way.
Choose a hero plate:
If you’re arranging more than one plate in a photo then choosing a “hero” plate is a good idea. This way you can choose an angle you want the plate to be viewed from while the rest are simply in the background. By starting with a hero plate in mind you can also save time on styling other plates that won’t really be in focus.
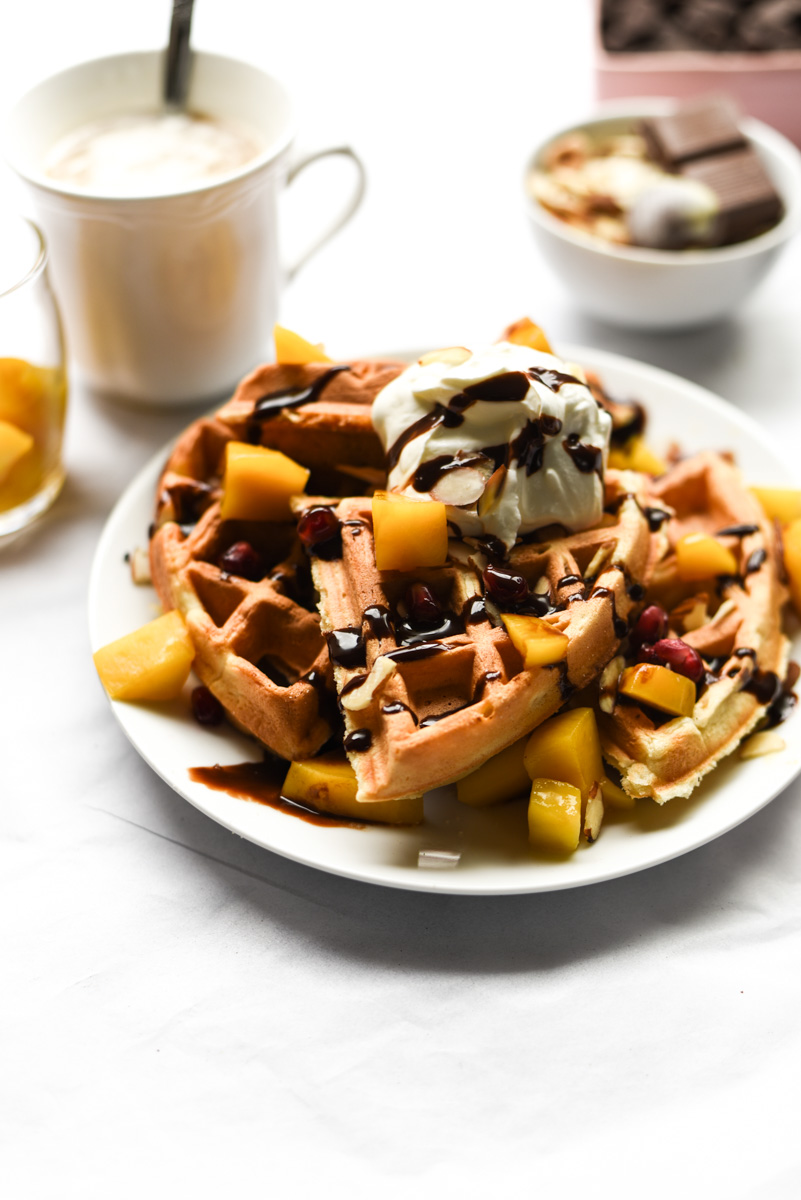
Use height and layering
When plating food, first think about what angle you want to capture it from then imagine the best ways to style it for that angle.
Using height and layering can truly transform the way your food looks in photos. Things like burgers and sandwiches are best seen from the side, so adding stacks of toppings and textures to create height can take them from blah to epic. Another example of this is with stacks of pancakes or cookies.
For foods you want to capture from an above angle, use different shapes and sizes of food to layer and create interest.
4. Using contrast and balance in food plating for photography
Something to keep in mind when plating food is the contrast and balance on the plate and in the scene. Using contrast and balance either together, or separately makes your plate of food look appealing and delicious.
There are a few ways you can create contrast and balance when styling plates of food:
You can use contrast to make a specific ingredient on your plate stand out or to create an interesting visual effect. For example, you could use contrasting colors, textures, or shapes to make your dish more eye-catching.
- Color Contrast: Use complementary colors, such as blue and orange, or opposite colors, such as black and white.
- Texture Contrast: Use different textures, such as smooth and crunchy, to add variety to your photos.
- Shape Contrast: Use different shapes, such as circular and square, to create an interesting composition.
- Balance: Balance refers to the arrangement of elements in a dish. You can use balance to create a harmonious and visually pleasing image. For example, you could use symmetrical or asymmetrical arrangements to create balance in the dish.
- Symmetrical Balance: Place foods symmetrically around a central point to create a harmonious and balanced scene.
- Asymmetrical Balance: Place elements asymmetrically to create a more dynamic and visually interesting image.
- Negative Space: As mentioned above, negative space is great for creating a focal point. It is also perfect for making a photo feel balanced when done well.
- Portion Sizes: Pay attention to portion sizes when plating to keep a good balance. You don’t want portions that are so small they are lost on the plate, however, you also don’t want to to overcrowd the plate with food.
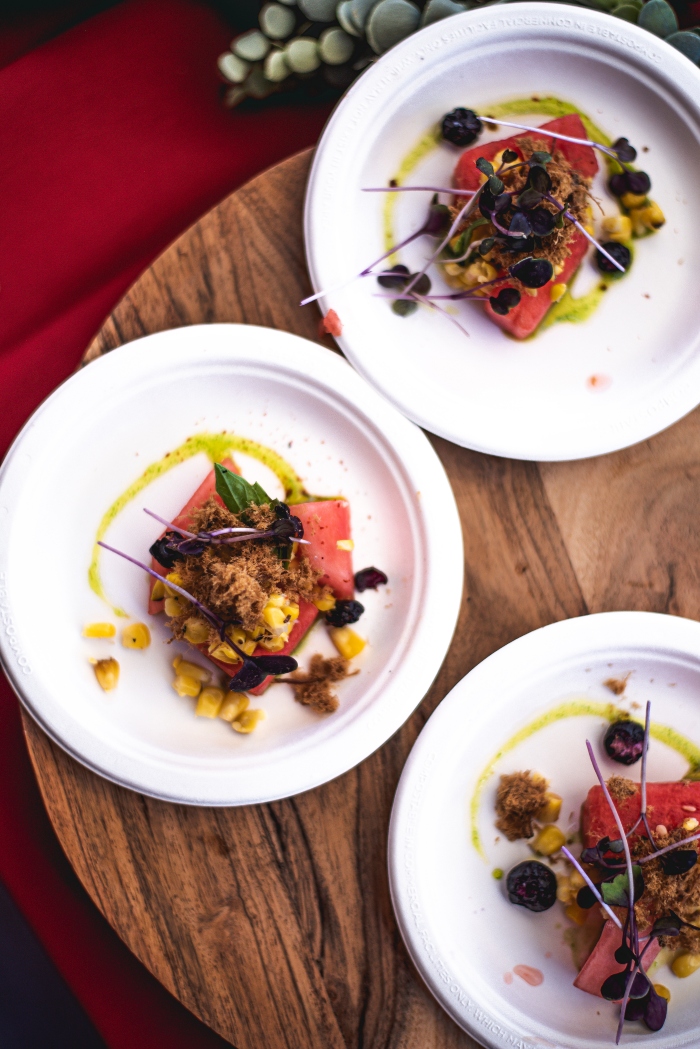
- Rule of Thirds: When arranging multiple plates in a scene, you can use the rule of thirds to help keep a feeling of balance in the scene. By arranging the plates in opposite corners or creating staggered patterns with them the photo will feel more even.
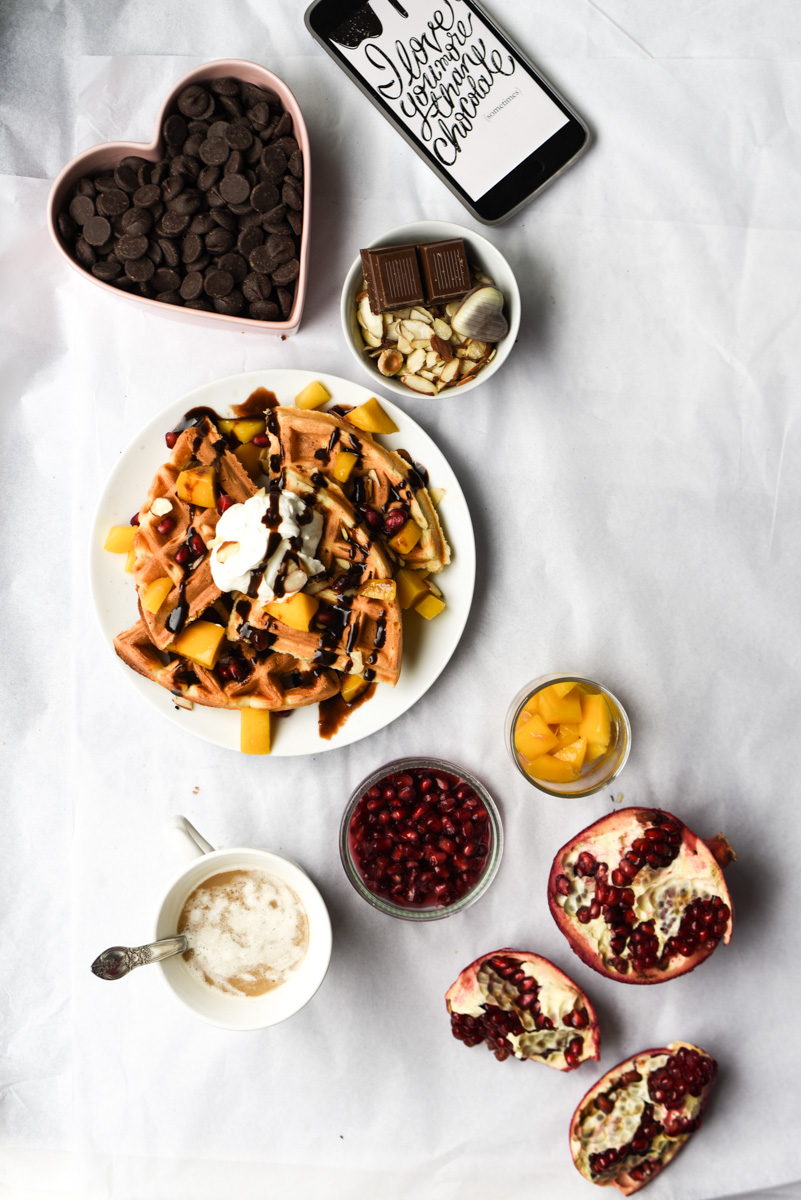
5. How to use garnishes and accessories to enhance food plating for photography
Nearly every dish can be enhanced by adding a little something on top. Don’t underestimate the power of a garnish or drizzle of sauce. Even the most plain and boring of foods can be dressed up with some toppings. Adding some raw ingredients you used in your food can also tell the viewer about the flavor of the food.
Here’s some ideas for how you can add garnishes and toppings to your food plating:
- Herbs and Greens: Fresh herbs and greens are a great way to add color and show the flavor of your recipe. Any fresh herbs will work. I love basil and Arugula for their gorgeous shapes.
- Citrus: Citrus fruits, such as lemon, lime, or orange can add a bright and zesty look to a dish. Cut the citrus in slice or wedges to show off the lovely patterns.
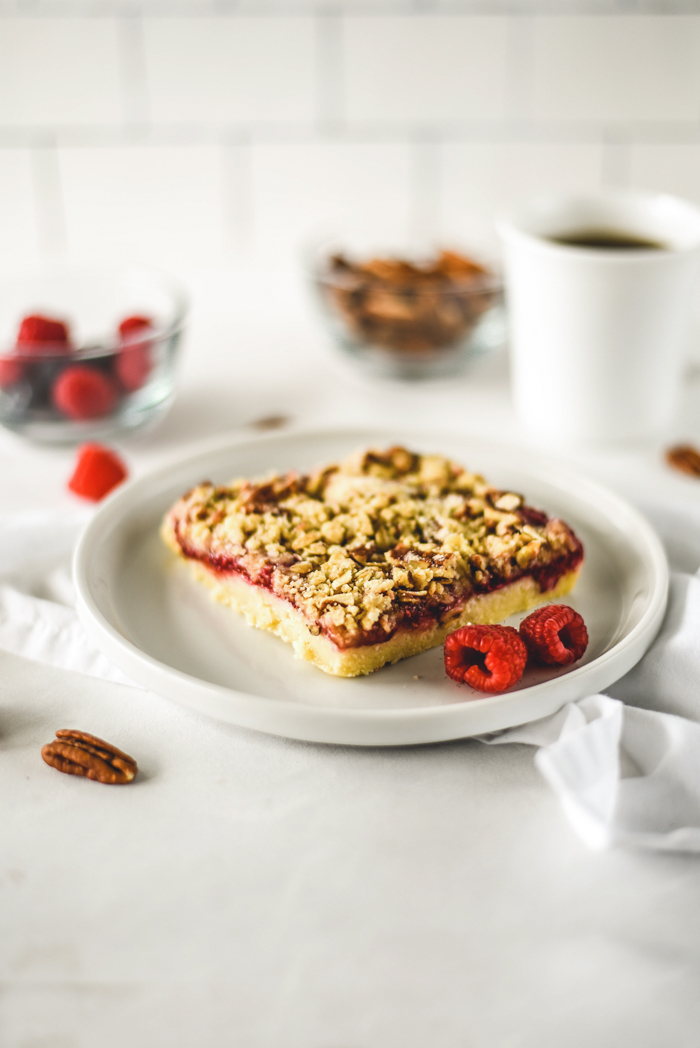
- Nuts and Seeds: Nuts and seeds can add much needed texture to boring foods without too much color. Use chopped nuts or seeds to add a crunchy finishing touch to the dish.
- Sauces and Drizzles: Sauces and drizzles can add that decorative element that makes a plate look fancy. Use a contrasting color sauce, such as a bright red tomato sauce on a white plate, or a drizzle of balsamic glaze to add contrast.
- Edible Flowers: Edible flowers, such as pansies or violets, can add a pop of color and a delicate feel to a plate of food. Use them sparingly as a garnish or scatter them around the plate for a whimsical touch.
- Spices and Seasonings: Spices and seasonings can show whether a food is sweet or spicy. Use a sprinkle of paprika or cumin to add a pop of color that screams spice. For showing sweetness add a dusting of powdered sugar or even cinnamon.
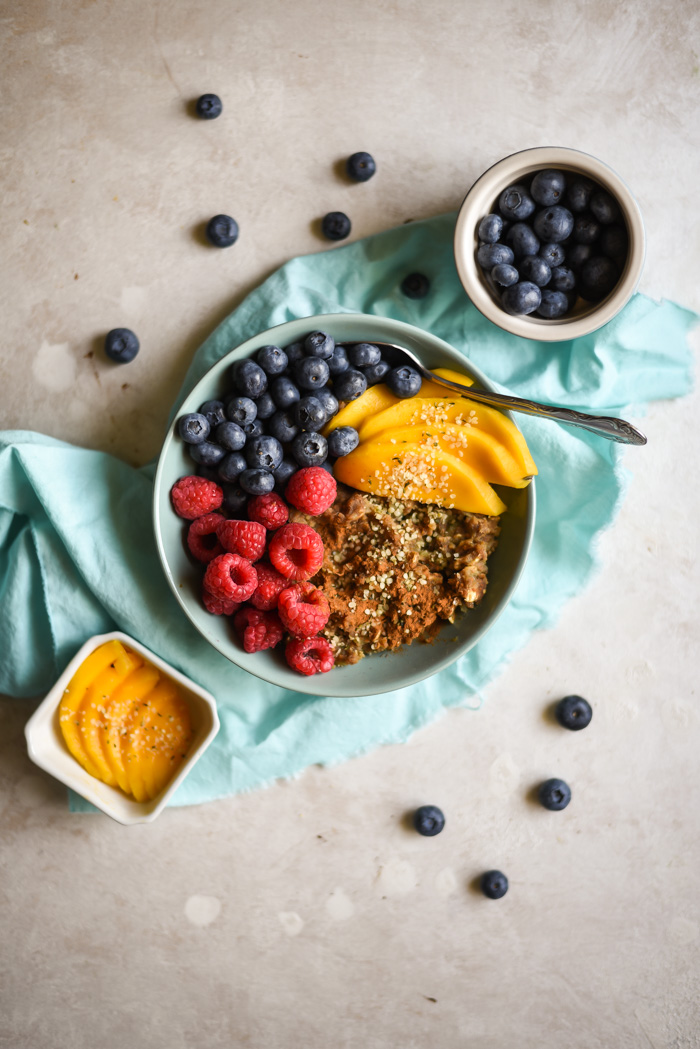
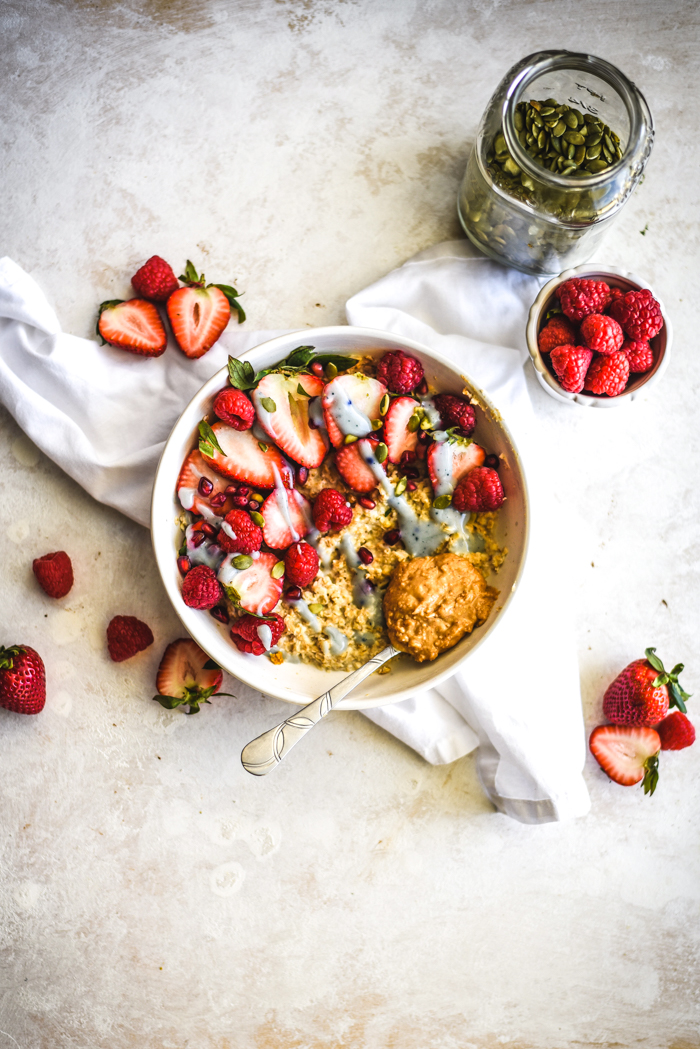
- Fruits and Berries: Fresh fruits and berries are always in my food styling. Use sliced strawberries or raspberries to garnish a dessert or top boring oats. Fruit adds color and dimension while also making food appear fresh and healthy.

6. Using texture and shape to create interest in food plating for photography
If you want to really draw attention to your plate of food, try playing with your food. I know, mom always said not to but sometimes you have to break traditional rules. Try cutting different ingredients into interesting shapes or arranging common foods in unexpected ways.
Some examples of how you can do this are;
- Use cookie cutters to me shapes out of fruits, vegetables, and other foods that are easy to slice.
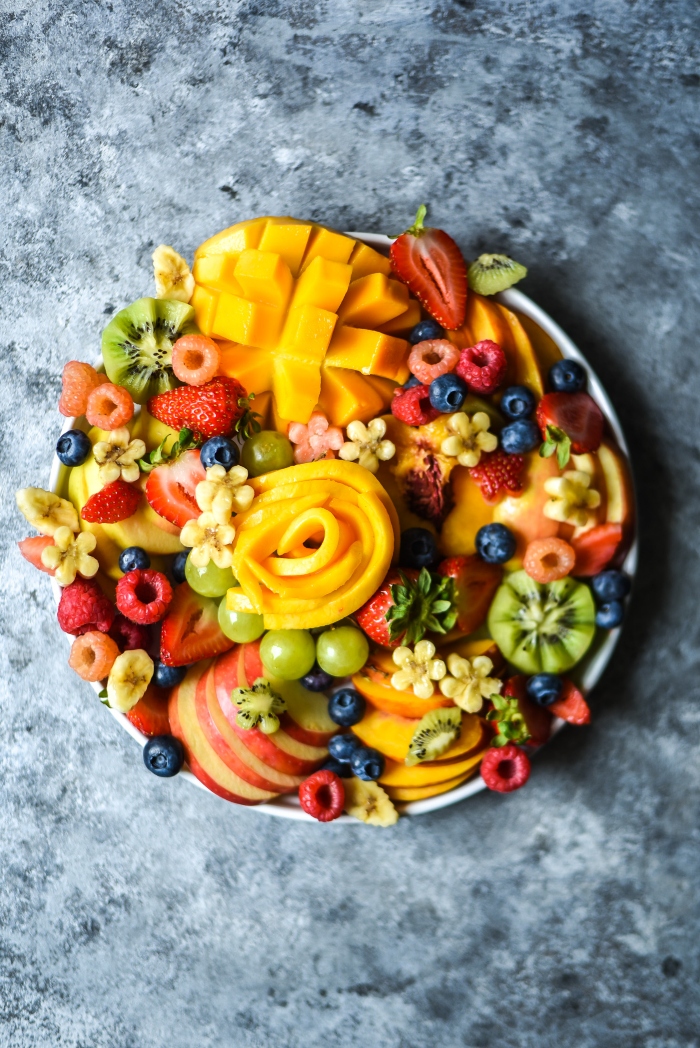
- Arrange sliced fruits like mango or avocado in spirals or flowers.
- Choose ingredients like pasta that have interesting shapes or spiralize vegetables.
- Using molds or cups to shape rice, mashed potatoes, and other relatively boring food.
- Make patterns out of ingredients like powdered sugar, cocoa powder, or sauces.
My favorite kinds of plates for food photography


Tips and tricks for food plating and presentation for photography.
Lastly, here are some other useful tips to keep in mind for great results when plating food.
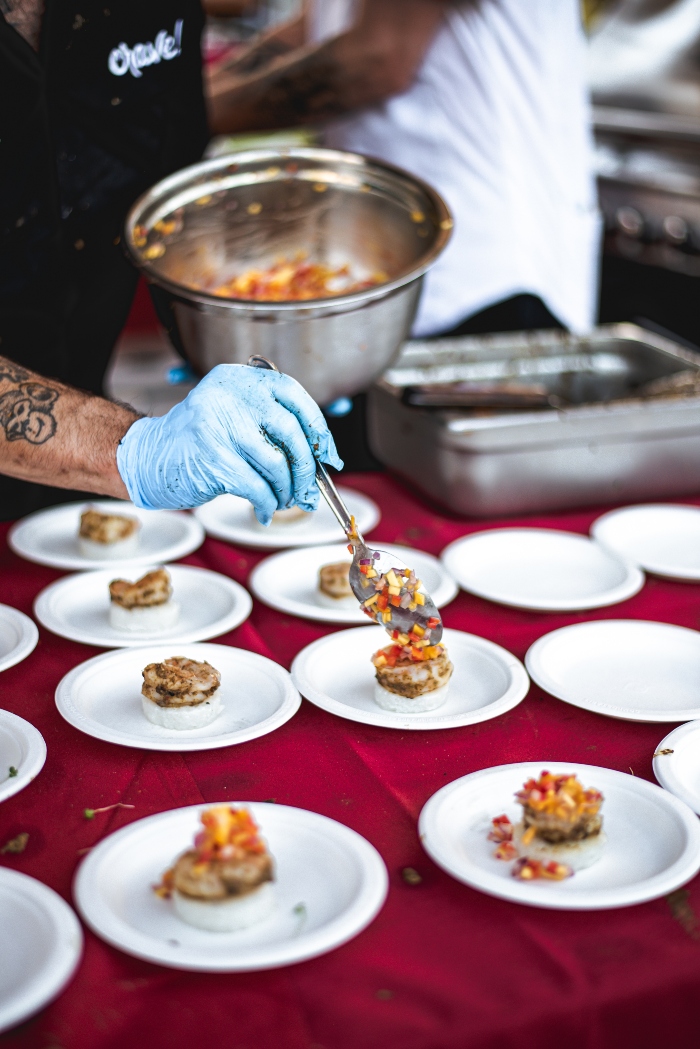
- Work quickly: Many foods are time sensitive and can melt or fade if left too long. Try to plan out how you want your photo to look and feel before preparing any foods that won’t last well.
- Keep it fresh: Using the freshest foods, especially with produce items, will always give the best results.
- Keep it simple: While garnishes ang colors are beautiful, sometimes less is more. Don’t overcomplicate a plate of food to the point of clutter and distraction. Make the food you’re photographing the star.
If you’d like more tips and tricks to use in food styling check out this post all about 14 Food Styling Ideas Every Food Photographer Should Know About.
Key Takeaways:
There’s a lot more to plating food than one might think, but it doesn’t have to be too complicated. These principles can be used as guidelines to help you plate your food like a pro, but they are not hard and fast rules. Stick to the basics of using delicious, fresh foods. The goal is to enhance your food and not to overwhelm it with too many elements.
This post contains affiliate links. This means, at no additional cost to you, I will receive a commission if you purchase something with my link. You can learn more here.


One Comment
Caroline Smith
You have great Presentation and Food Styling tips. Thank you for sharing. Very artistic.